Thursday, December 24, 2015

Week in Review 2015 - 12/24

Tips, Thoughts and Techniques:

Andy Warhol's Marilyn is simple, but so effective.
Each year it seems I strive to do a little less during the holidays. Most years I actually succeed with this plan. Honestly, what was I thinking in my 20's and 30's baking dozens upon dozens of cookies, writing out individual holiday greetings by hand to a mailing list of 100, making many gifts, shopping for many more and accommodating everyone else's need to get together for a gift exchange in a schedule more complex than air traffic at an international airport. Less is definitely more at this time of year.

I would love to identify this quilt and quilter. The image
was available on Bing.com and listed as free to share, but
there was no artist listed or site referred to. Note the simple
palette coupled with strong vertical quilting lines.
Is less more in art? Sometimes, I think it is, at least for me. I am drawn to works with strong line, clear shapes and a bold, simple palette. Pier Mondrian, Alexander Calder and Andy Warhol come to mind. It appears that with the Modern Quilt Movement fiber art is heading in that direction as well. There is much less complex piecing and intricate quilting. Instead strong parallel or echoed quilting lines, fill graphic designs.

Will my work trend towards simplification  next year or become more complex? Perhaps a little of both.

The focus this week has been on developing quilting samples and solving technical problems  as I return to working on my beach series, with Sea Fever. One of the advantages of doing less is having more time to spend in my studio. Here is what I managed to accomplish this week:


1)   Deconstructed Sunrise #3 - Add sleeves and label - Still working on it.


2)  Work on Sea Fever - (Due March 15) - Done! 

I tried out several threads and quilting motifs to create ocean water and foam.

3) Free motion quilting practice. - Done!
This week's quilting motif is the one I plan on
using to simulate ocean water between waves.
Click on the image for a larger view.

See item #2

4) Post the number of days I have worked in my studio in 2015 108.5/126

5) Experiment with Tsukineko ink - Done!

This week I started painting on my PFD (prepared for dyeing fabric.) It is a Kona cotton with a 60 thread count. In the past I have prepared my own fabric for painting using a high quality muslin. What a difference the Kona cotton makes. I should have treated myself to this years ago. In this case, more is definitely more. 

The horizon line on this Tsukineko ink experiment
lead to my creating a scene by adding a layer of
white caps and clouds. I just might turn this into
a whole cloth quilt.
I am discovering that I like painting with  inks best. This week I thought I would I try placing a walnut size blob of aloe vera gel at the bottom of a yogurt container and mixing it with 5 - 10 drops of ink. The gel  thins the ink and allows it to glide smoothly over the fabric. However, it can be so thin that you loose the color. Therefore, I decided fill the remainder of the yogurt container with shaving cream. I added another 15 or so drops of ink. I do not mix or even blend this. Instead I dip my foam brush into the cream, down to the gel and paint with what ends up on the brush. The result for such a simple process is surprisingly sophisticated looking.

6) Perform a random act of kindness - Done!

I have committed to developing my surface design skills in 2016. So, the Tsukineko ink experiments will continue. I begin a brief virtual class with Elizabeth Barton on fabric dyeing the second week in January as a way to kick off this commitment. The logical progression is to use the fabric I create. I can't wait for next week when I will focus on the following:


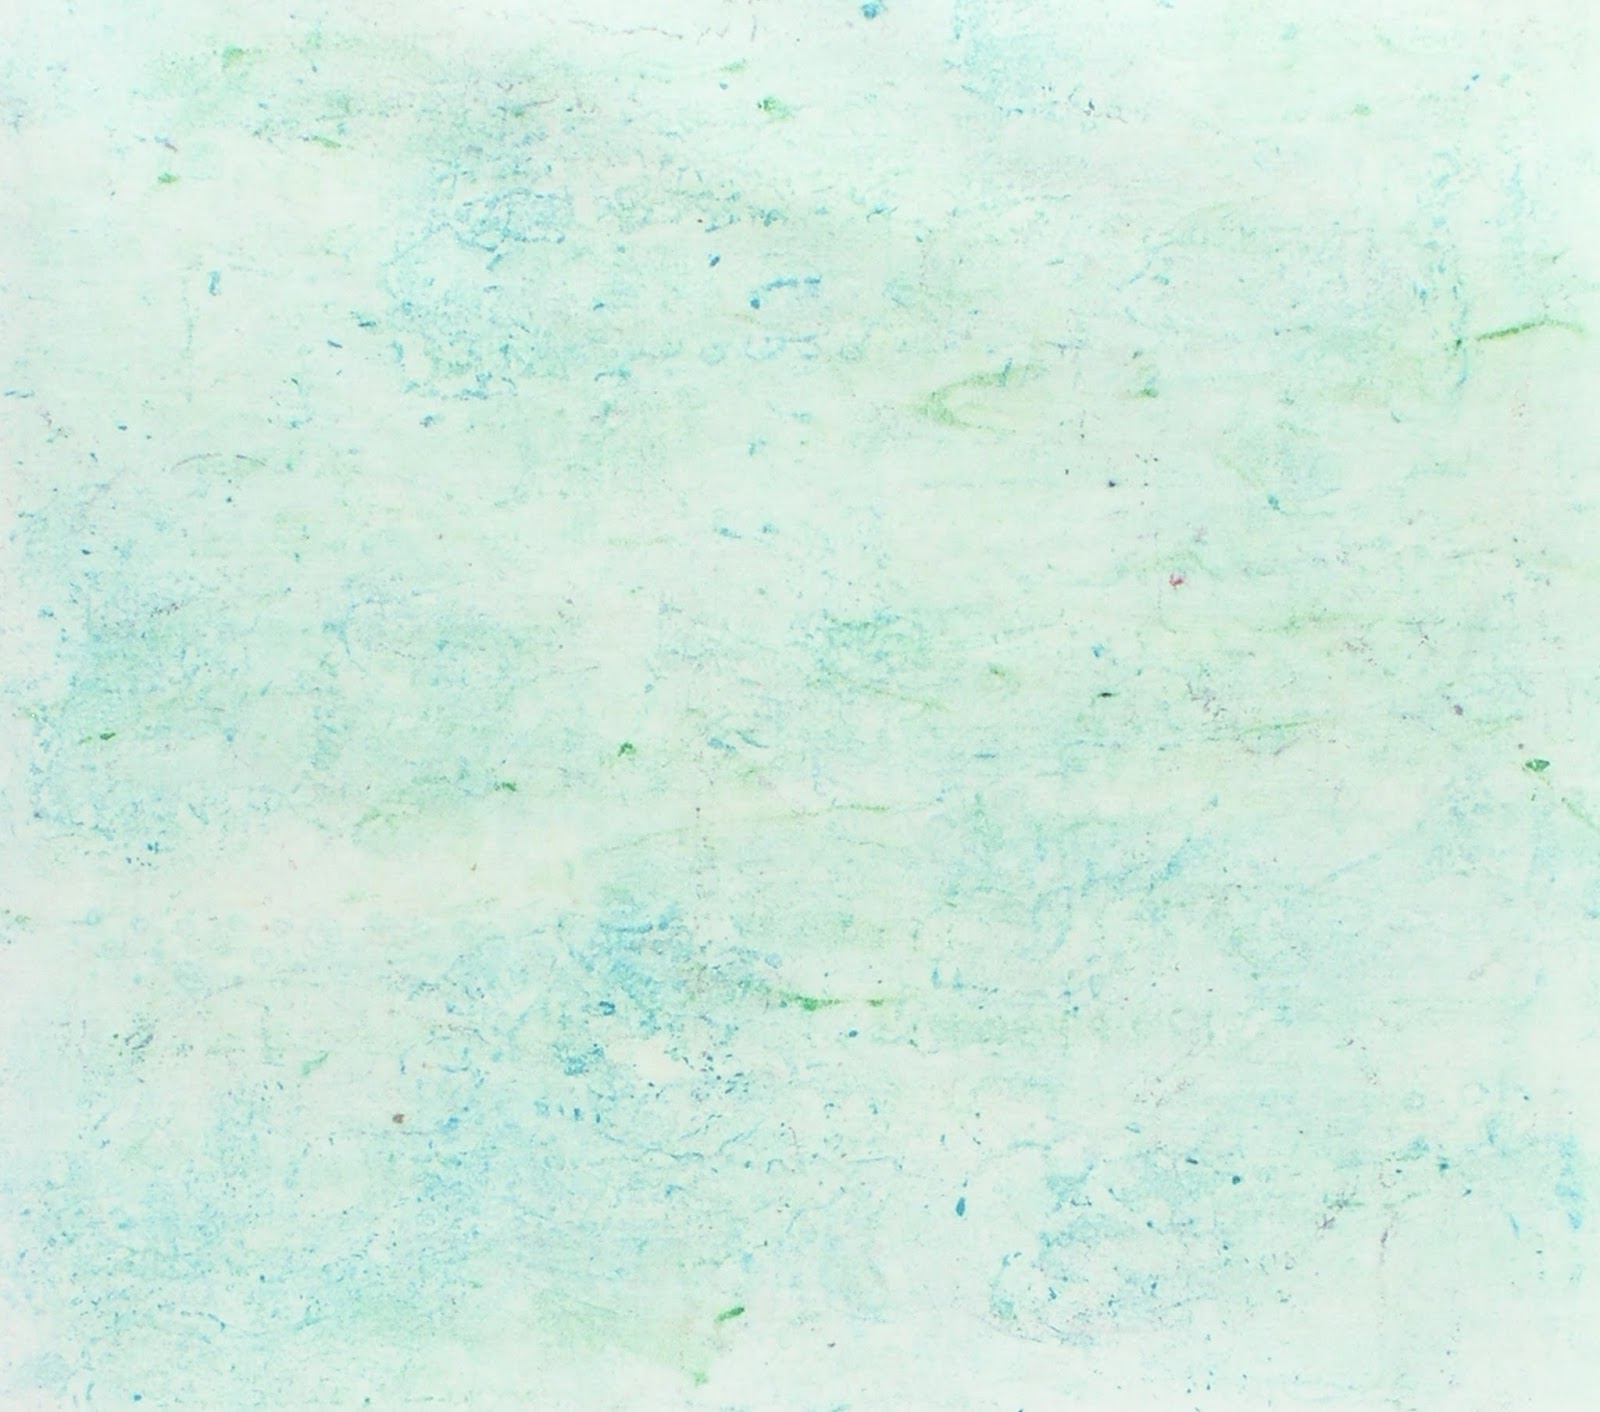
This Tsukineko ink piece is one of the ones I created on
PFD fabric by dipping into a shaving cream and
aloe vera gel parfait. 
1)   Deconstructed Sunrise #3 - Add sleeves and label


2)  Work on Sea Fever - (Due March 15)

3) Free motion quilting practice.

4) Post the number of days I have worked in my studio in 2015

5) Experiment with Tsukineko ink

6) Perform a random act of kindness


I am now linking up to two blogs on Fridays. The first is Nina Marie's Off the Wall Fridays and the second is Free Motion Mavericks.

Friday, December 18, 2015

Week in Review 2015 - 12/18


Tips, Thoughts and Techniques:

What is it about high, small spaces
that are irresistible to a cat? This week
Lola leapt up into the china cabinet
and settled into the void to watch me
prepare my midday salad. She isn't sleeping,
she is peering down at me from 6 ft. up.
Each week I begin writing my post by typing in the heading, "Tips, Thoughts and Techniques." The censor in my brain is screaming - "Really, Gwyned? Shouldn't you just call it Thoughts since you very rarely pass along tips or techniques?" Today I am feeling exonerated. I do have a combination tip and technique to share with you. It is how I make sleeves for my quilts. Many other quilt artists have shared their methods over the years. My personal favorite is the one available on the IQF (International Quilts Festival) website that Libby Lehman wrote up over two decades ago. Over my own career I have found it necessary to tweak Libby's directions a bit here and there.
Figure 1 - The edge of the sleeve,
folded over twice and stitched in
place.

A sleeve, is a sleeve, is a sleeve. What's the big deal? The big deal is the sleeve is one of the key elements to make sure that your work will hang smoothly against the wall without any embarrassing bulge where the hanging rod sits. You want viewers to admire the artwork, not wonder what's that bump at the top?

As Chair of SAQA's (Studio Art Quilt Associates) Exhibition Committee, responsible (with the help of the Committee and other SAQA support) for 16 art quilt exhibits traveling globally in 2016, I can say the topic of quilt sleeves comes up nearly every week. It is frequently raised when new work arrives at Shipping Central with sleeves that just won't do. Imagine if everyone made their sleeves as exhibit worthy as their spectacular artwork, what a holiday miracle that would be. :)

Figure 2 - The top edge is aligned with the central crease.
Any one who can make a quilt, can make a quilt sleeve. When I make my sleeves I cut the fabric 10" H x the width of the quilt. You need the full 10" in order to create a sleeve with a big enough opening to fit whatever rod will be slipped through it during the course of the quilt's exhibition life. Here are the steps required to create a show stopping quilt sleeve:

1) With the right side of the fabric facing you, make a 1/2" fold at each vertical end of the fabric. Press.

2) Fold the same sections again. Press once more. The rational is to have a strong edge where the rod is inserted and not have the rod get caught in the fold. Folding towards the outside of the sleeve is counter intuitive, but it makes rod insertion and durability of the sleeve much better.

Figure 3 - Note the firmly pressed "stitching guide" crease.
Seam the two horizontal edges together wrong sides
to wrong sides.
3) Stitch the double folded edges twice, 1/8" in from both edges. (Figure 1)

3)  Next step is to make the creases  that will become the sewing line for attaching the sleeve to the quilt. Start by folding the fabric wrong sides to wrong sides horizontally. Press. This line is for reference only.

4) Open the fabric and lay it out horizontally. Now fold the top edge to align with the center crease. Press. Next fold the bottom edge to align with the center crease and "kiss" the top edge. Press. (Figure 2)

5) Seam the top and bottom edges together using a 1/2" (not a typo you want a 1/2" seam for more give) wrong side to wrong side. (Figure 3)

6) Carefully, press open the seam so that you don't loose the two creases you made for sewing guides.

Note the play in the sleeve. This is what you want. Now
any bulge caused from the hanging rod is accommodated
by the sleeve so the rod won't distort the quilt.
7) Pin the sleeve, seam side against the quilt, in place 1/2" down from the top edge of the quilt. Since you turned under both edges of the fabric the sleeve is narrower than the quilt. It should be. This way the hanging rod won't be visible in the front. I use my 24" acrylic ruler to  set the top edge of the sleeve. I place the ruler on top of and parallel to the quilt overlapping by 1/2". Then I lay the sleeve down so that it is snug against the ruler. Be careful not to jiggle the ruler. You may want to weight the ruler in place.

8) Hand stitch around the full circumference of the sleeve using small stitches. I use a ladder stitch.

If my quilt is more than 24" wide, I prefer to make a split sleeve. A split sleeve is the same as a sleeve, but you make two shorter sleeves that are attached leaving a "split" or gap in the center where there is no sleeve. The rod gets inserted through both sleeves and is visible in the gap. This is helpful for many gallery hanging systems that need to "hook" to the rod at the center, especially if the quilt is large or heavy.

I did more than work on sleeves this week. Here is how the week went in my studio:

1)   Deconstructed Sunrise #3 - Add sleeves and label - Still working on it.

2)  Work on Sea Fever - (Due March 15) - Done!

I've been experimenting, researching and having a grand time testing theories and making fabric for this. I should be able to share a visual or two in my next blog posting.

3) Free motion quilting practice. - Done!

I've come up with the primary motif for Sea Fever. I just don't have a picture of my work to share yet.

4) Post the number of days I have worked in my studio in 2015 - 106/126

5) Experiment with Tsukineko ink - Done!

The experiments went well this week. I focused on how to create better bleeding and blending of the ink. I believe I have a method that will produce, if not necessarily predictable results, at least results that I achieve produce usable, fascinating fabric.

6) Perform a random act of kindness - Done!


Next week and the week after I expect my studio time to be curtailed somewhat due to the holidays. However, when I can management a moment in the studio this is the game plan:

1)   Deconstructed Sunrise #3 - Add sleeves and label

2)  Work on Sea Fever - (Due March 15)

3) Free motion quilting practice.

4) Post the number of days I have worked in my studio in 2015

5) Experiment with Tsukineko ink

6) Perform a random act of kindness

I am now linking up to two blogs on Fridays. The first is Nina Marie's Off the Wall Fridays and the second is Free Motion Mavericks.

Happy holiday season to all. Wishing you the perfect balance of fellowship and creativity.

Friday, December 11, 2015

Week in Review - 12/11

Tips, Thoughts and Techniques:

One thing I've learned to do from
my year focused on mixed media
is start the next piece with the
leftovers at the end of the day.
Judy Warner, my fellow Tsukineko ink experimenter, asked me (and I paraphrase here) "why are your experiments producing such positive results?" I had to think about this for a while. Now, as I compose this blog, I realize the answer is very similar to the one that I give when I am asked "how long does it take you to make a quilt?" The questioner wants the facts. Judy wants to know all the details of tools, set-up, ratio of ink to shaving cream, etc. Those asking the time question want to have the work encapsulated in something easy for them to interpret, such as 100 hours. However, for me the answer is the same for both questions. It isn't the set-up for a particular experiment or the time spent from start to finish on a quilt that produces the results I get. What is key is how I have spent my time leading up to this experiment or that quilt. All those hours making other quilts, taking a year to study mixed media, teaching classes on color, and taking classes on technique all influence the intuitive way I work with something new. Are all my experiments successful? Of course, not. However, and this is key, even the unsuccessful experiments are successful, because it is through failure that we learn.
Not every piece is successful. I tried
adding a single drop of yellow to
blue drops. The yellow is too
dominate and distracting for
my personal taste. This cloth was wet
when I worked on it. I was hoping
for more natural migration of the ink.


I tried printing versus stenciling
on this piece. Then couldn't resist
adding some dot collections with
a stencil.
Remember Night Vision? It was rejected from three exhibitions in a row. What experience has taught me is not to give up. I continued to enter it and this past week it was accepted into the 21st Arts in Harmony exhibit that opens in February in Elk River, MN. Light, Space and Time's online "Animals" exhibit includes Night Vision, too. Both exhibitions are art exhibits as opposed to fiber exclusive exhibitions. Details for both exhibitions may be found on my website.

Here is what I experimented with this week:

I'm in love, LOVE with how this turned out. It was created
by painting multiple layers of ink/shaving cream mixtures.
Each layer was heat set before the next one was added.
My goal with the experiments is to create work that reads
like water. That is why I love this so much. 
 1)   Deconstructed Sunrise #3 - Add sleeves and label - Not yet

The top split sleeve is attached. I have pinned the bottom sleeve to the quilt, but haven't sewn it in place yet.

2) Free motion quilting practice. - Done!

3) Post the number of days I have worked in my studio in 2015 - 103.5/126

4) Experiment with Tsukineko ink - Done!

5) Perform a random act of kindness - Done!

I'm also hoping to capture sea foam. This is my pressing
cloth from all the work I have done. Sometimes
the "accidental" art is the best. :)
The plan was to give myself the month of December to play. That commitment lasted a few days. Then I had one of those eureka moments where I just knew what I absolutely, positively needed to make for my next quilt. It will be a departure into uncharted territory. I'm super excited. This is the absolute best time for me as an artist, when everything seems possible. You've heard of runner's high? I have artist's high. I'll need to reign myself in, though, so that I can focus on the plans for next week which are:


1)   Deconstructed Sunrise #3 - Add sleeves and label

2)  Work on Sea Fever - (Due March 15)

3) Free motion quilting practice.

4) Post the number of days I have worked in my studio in 2015
While my ink experiments were drying I took some
time try out another Whirls and Swirls motif. Not sure
what Tracy calls it, but I have named it
Jacobean Flourish.

5) Experiment with Tsukineko ink

6) Perform a random act of kindness

 
I am now linking up to two blogs on Fridays. The first is Nina Marie's Off the Wall Fridays and the second is Free Motion Mavericks.

Friday, December 4, 2015

Week in Review 2015 - 12/04

Tips, Thoughts and Techniques:

Deconstructed Sunrise #3
Details can be found on my website.
Ta da!

You may recall from my last post that Deconstructed Sunrise #3 was nearly destroyed when I gave it its post construction soak in preparation for blocking. Here is the proof that I was able to salvage it from the nightmare of running dye. Didn't the facing come out perfectly? What you are seeing is the actual quilt and not a cropped photo.  I can't believe how nicely it squared up. Thank you to  Kathleen Loomis for your excellent tutorial on facing.

My husband and I traveled back east for Thanksgiving with our extended family. We returned home this past weekend to the usual catch up work. Plus it is December. This means Christmas is around the corner and life has a way of adding chaos and crisis just when you find yourself in a time crunch. What "C" is missing? Calm. This is why I make it a point to allow and/or schedule calm moments into every day.


I titled this free motion quilting motif
Loosing My Marbles
The mad pace to finish Deconstructed Sunrise #3 in order to submit it to a call for entry has left me desperate for another "C" - casual studio time. This is precisely what I have opted to focus on until I feel balanced again.

My plan before our travels waste attend to the following:

1)   Deconstructed Sunrise #3 (Due November 30, 2015) - Done!!!

Snowflakes and Leaves
Tsukineko ink experiment
a) Stitch down the facing - Done!
b) Prepare the Call for Entry photographs - Done!
c) Submit my entry - Done!

2) Free motion quilting practice. - Done!

3) Post the number of days I have worked in my studio in 2015 - 100.5/126

4) Perform a random act of kindness - Done!

5) Tsukineko Ink Experiments - Done!

Fellow quilt artist, blogger and friend Judy Warner and I each bought a set of Tsukineko Inks this year. The appeal is that they are water based, blend with each other to make new colors, are permanent after being heat set, and do not alter the feel of the fabric. Rather than have yet another enticing supply languish in the closet we knew we needed to experiment in order to work them into our repertoire. To motivate ourselves, we have decided to share our experiments with our readers and since we follow each other's blogs, with each other. 

Butterflies in the Grass
Tsukineko ink experiment
Note that I used a thermofax screen as my butterfly stencil.
The ink/shaving cream blend was gone
from the stencil immediately after I
immersed the screen in tepid water.


In this series of experiments I blended ink with shaving cream (helps thicken the ink so that it is less likely to bleed into the fabric.) I built up a background "wash" by adding alternating drops of red and blue ink. In between adding the drops I would paint the fabric with the current concoction. This way the color got gradually deeper in value and went from violet hues to a more reddish purple. Once the background was heat set I added a layer of stenciled prints. Heat set the first stencil prints and then added the final layer.

Tsukineko ink experiment
The background fabric is one of
my hand dyed fabrics. You might be able
to distinguish the glowing yellow butterflies
if you click on the image.


In the snowflake/leaf fabric the two different valued leaves were achieved just like the background. First I printed the paler leaves, then I added more blue to the "left over" ink and shaving cream mix and printed the darker leaves. I had minimal bleeding problems until the final stencil (blades of grass.) I'm not sure if it was the weight of the stencil (very light) or the fact that I was using up the final tablespoon of ink and shaving cream mix which naturally had more ink to shaving cream than the original ratio.

My plan for this coming week and possibly the rest of December is to take a break from designing and making a new quilt and instead find time for play and calm by focusing on the following:
 

1)   Deconstructed Sunrise #3 - Add sleeves and label

2) Free motion quilting practice.

3) Post the number of days I have worked in my studio in 2015

4) Experiment with Tsukineko ink

5) Perform a random act of kindness

 
I am now linking up to two blogs on Fridays. The first is Nina Marie's Off the Wall Fridays and the second is Free Motion Mavericks.