|
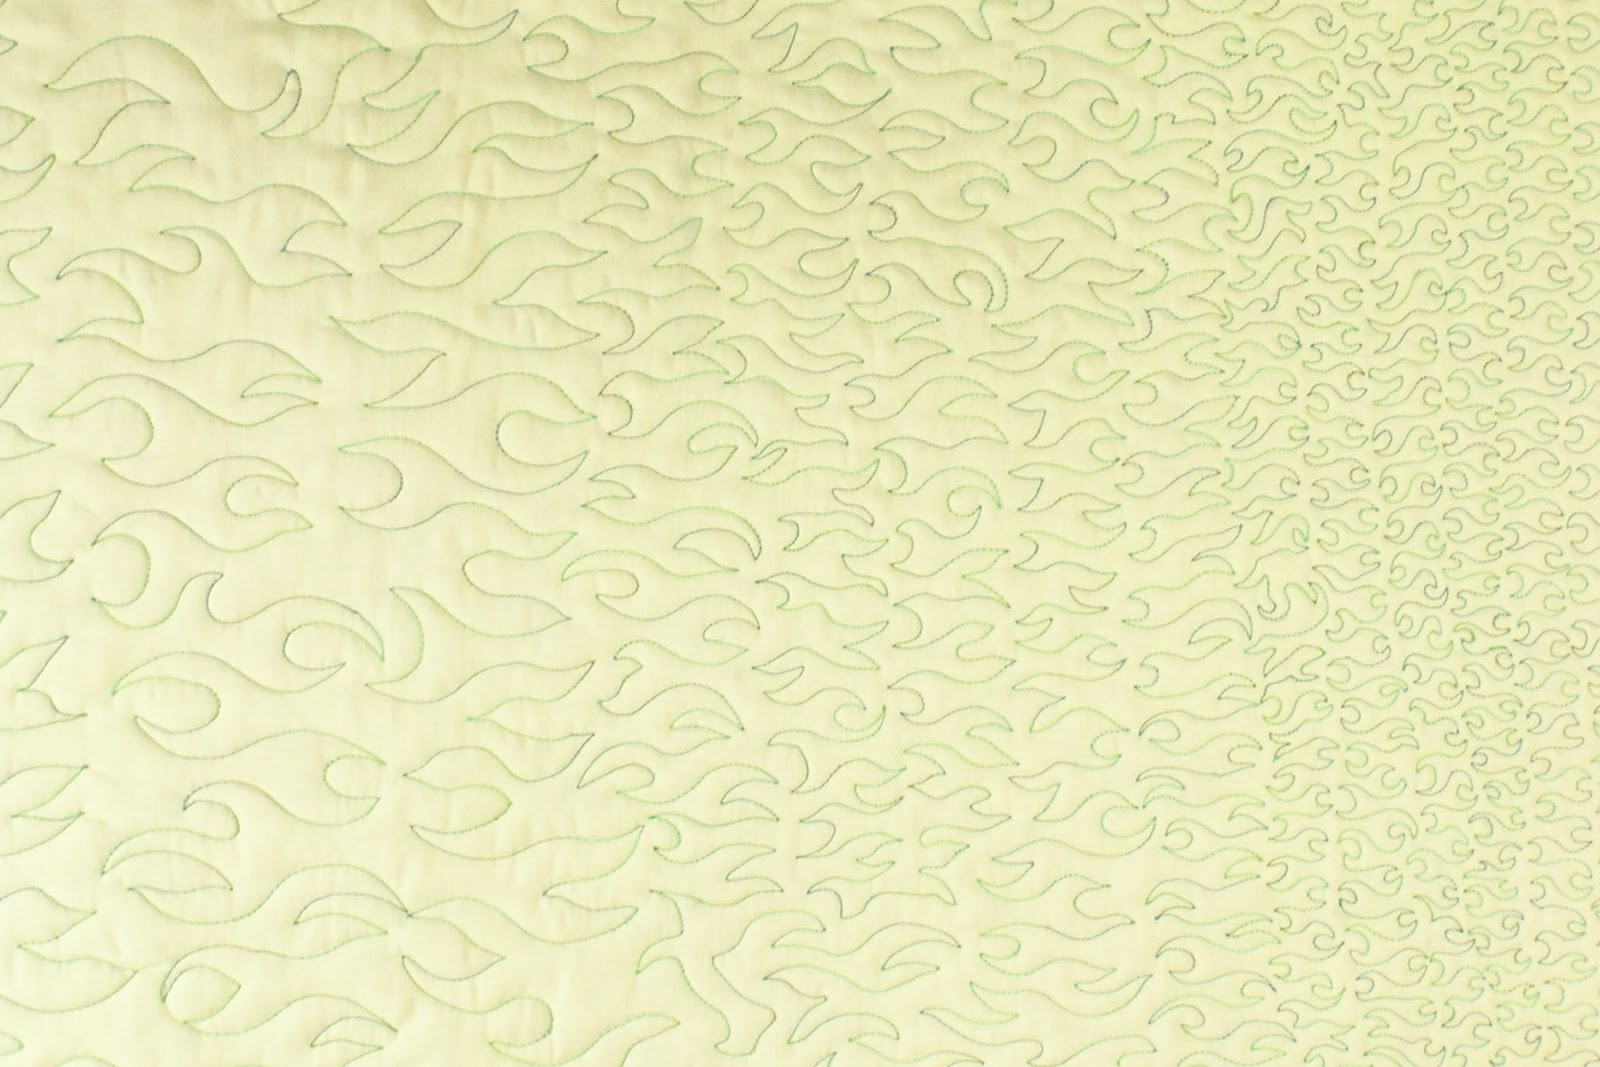
| Sharp Stippling - Gradated from Large to Small |
Leah put us back to work this week. She titled this form of all over design, Sharp Stippling. The primary difference between Sharp Stippling and stippling is that the Sharp Stippling design results in sharp points versus an all over gentle curve. The design reminded me of either wrenches or whales tails and it could be morphed to look like a jester's cap.
 |
| Starting with Single Points |
In order to develop a comfort level with the design Leah recommended that we start with its simplest elements the peaks and valleys, eventually dividing the peaks into two peaks and then interlocking the rows. The challenge, Leah said, and I paraphrase, "is to avoid hesitating at the points and therefore creating beads of thread building up on the back of the quilt." It surprised me that this wasn't my biggest challenge. In fact I had very few hesitation beads relative to the number of points.
 |
| The Backside - Note Occasional Hesitation Points |
My personal challenge was not getting twisted in the pattern. It looked simple enough. It wasn't the points where I got lost, but instead I struggled to remember the appropriate S shape between the upper and lower points and in my panic would veer even further off course.
 |
| Getting Lost in the Pattern |
I began large. Very large. Then I worked my way through several midsize sections, ultimately finishing with eight or so rows of small repetitions of the design. I rather like the large flame like section from an appearance state, but I preferred working in the midsize to small range. This could be because the more I practiced, the more proficient I became with the design. However, I think that is only half the story. I find it easier to manipulate the quilt in a small area than to go tearing off for 2" - 3" at a time.