Showing posts with label Steam a Seam 2. Show all posts

Friday, August 2, 2013

Week in Review 2013 - 08/02

My photographer (a.k.a. my husband) asked that pose in front of
Companion Oysters
for the blog. This was taken Thursday night, August 1, 2013 after
full day in the studio. What you see is precisely what you would
see if you were to drop by while I was working. It also gives
you a good sense of the scale of the piece.

It's been another week in my home studio, said with a wink to Garrison Keillor. This week has been all about preparation. Abraham Lincoln said, "If I had eight hours to chop down a tree, I'd spend six sharpening my axe." How apropos for quilting. Preparation is often where I spend most of my time when making a quilt.

My preparatory work for the week went as follows:

1) Companion Oysters (Deadline 9/01/2013)

a) Stitch the oyster shells to the background - Done!

A nose to the quilt close-up of Companion Oysters.
I opted to use the blind hem stitch (Bernina 1260 Stitch #7) that looks like _ _ _ ^ to sew down the appliqué pieces. I use this when I don't want the stitches to appear as a design element. I use a narrow satin stitch when I want to create a rim around the piece. If you click on the image you should be able to see the blind hem stitch on both the lavender and eggplant pieces. The shimmer on the palest fabric is created with an overlay of white tulle that has glitter adhered to it. I had hoped the glitter would be more stable. Much of it is on the studio floor and a few stray pieces traveled around the condo on my body. 

Stepping back a bit for a more distant close-up of Companion Oysters.
Here you can see how I layered the seaweed. Since there were so many
tight and small curves I opted to fuse the seaweed in place. I prefer to
use Steam a Seam 2 or Heat 'n Bond Lite for this. Both adhere well
and keep the edges of the appliqué from fraying.

b) Add a layer of batting behind the oysters for a trapunto effect - Done!

Companion Oysters with the first layer of batting adhered behind the oysters.
I added batting behind the oysters, but cut it away behind the kidney bean shaped depressions. I am hoping that this will help create a sense of depth/relief to the oysters that I will enhance through quilting. I am also thinking of adding a hint of shadow with paint to left hand side of the image.

2) Do whatever assignment Leah comes up with next. - Started.

Foundation piecing is
begun for a lock of the
goddess's hair in
Express Your Love II.


It is time to begin the goddess's hair for Express Your Love II. This will be done with a series of foundation piecing patterns. The first step is to create a guide on a sheet of muslin. If you look closely at the image, you can see that I stitched over the outline that indicates the finished area for this particular lock of hair. This is part of my preparation that seems to be an extra step. The advantage is that the pattern is now marked on the front and back of the muslin. Also, I can select a color thread that blends with the fabric, making the marking something that won't be seen in the finished piece AND I can iron this obsessively, something I couldn't do if I used a water soluble blue marker.


3) Pictorial Painting - Face "Canyon." - Not even considered.

With the prep work accomplished it is time to move forward to create the work. This is the game plan for next week.

1) Companion Oysters (Deadline 9/01/2013)

a) Determine whether to add shadows and if so, paint them.

b) Layer and baste the quilt sandwich.

c) Start the free motion quilting.

2) Leah Day's weekly assignments

a) Finish last week's golden lock.

b) Do whatever assignment Leah comes up with next.

3) Pictorial Painting - Face "Canyon."


I am now linking up to two blogs on Friday's. The first is Leah Day's Free Motion Quilting Project and the second is Nina Marie's Off the Wall Fridays.

Friday, February 15, 2013

Week in Review 2013 - 02/15

One thing is becoming abundantly clear since I started posting my plans for each week and how they overlay with what I actually do, there is always a discernible difference. Sometimes the difference is small, but more often than not it seems as vast as the Grand Canyon. Is this a bad thing? Not necessarily. Therefore, this week's thought is a reminder to stay flexible, especially when creating. If something isn't working, find a way to fix it or just get rid of it and start over. If one thing leads to another, go with the flow. Listen to your inner voice. Learn to trust it. Find a way to balance staying in the moment with reflecting on all that has been accomplished to this point and then look to future for motivation to continue.

I accomplished much this week, just not what I thought I would. Here is how the week ending February 15, 2013 played out:

1) Shore's Edge (Absolute deadline March 21, 2013)

"Shore's Edge" is 30" H x 46.5" W
The sea foam and spray is added.


a) Fuse the sea spray (Angelina Fiber creation) to the quilt. - Done!

b) Start adding a scattering of beads to the foam and ocean to indicate bits of foam and spray. - Done!
However, if you are looking for beads indicating foam and spray you won't find them. Here is what I tried...

i. Securing the Angelina Fiber creation down with beads. Rejected.
ii. Securing the Angelina Fiber with Steam a Seam 2 Lite. That worked for the spray but not the lead edge and crests of the mini waves.
iii. Tried couching yarn. - Rejected
iv. Tried satin stitch. - Rejected
v. Tried braiding the yarn and then stitching it into place. Finally! Even this was problematic as I fiddled with different quilting feet to find one that wouldn't jam. I ended up using my open toe foot.
vi. I also tossed white and crystal beads around the ocean in strands and clusters but they looked like beads and not spray. So, no need to bead.

2) Pictorial Painting

The set up of paints in my wet studio (doubles as a laundry room).

a) Add the label to the Calla Lily piece. - Done! 

b) Watch the introduction for the second and final project in the class. - Done! However, it turns out that there is a bonus section on how to mix paint in the middle. So, what I really did was watch the instructions for the bonus section and not the final project. 


c) Gather the materials together to begin the final project. - Done! See above. 

Let the paint mixing begin. Seeing what happens when paint
is mixed and applied to muslin vs. a print.

What I worked on was creating a matrix of what happens when you blend the paints Mickey Lawler uses as a her base paints in SkyDyes. Being the over achiever that I am I couldn't resist creating the matrix on white muslin as well as a print. The left hand column and the upper row represent the paint before it is blended. I didn't catch on until I blended the yellow with the violet that I was supposed to blend them so that in the row the yellow dominates and in the column the violet dominates. Oh, well... You can see that I have two stripes of each color in square. The one on the left side is undiluted paint. The stripe on the right has been created with paint diluted with water at 1:1. Annette Kennedy recommends using the paint full strength. The reason becomes obvious when you look at the matrix. The watered down paint tends to travel a little bit and form a darker edge. Of course this could be advantageous if that is what you need.  

3) Express Your Love

a) Do whatever assignment Leah comes up with next. - Leah was busy filming for her latest Craftsy.com class and didn't post an assignment this week. Her newest class isn't available yet. However, her first class on Craftsy.com is. I can't emphasize enough how much I learned last year by following along with Leah. I missed my excuse to do some free motion quilting.

4) Reflection (Absolute deadline April 23, 2013)

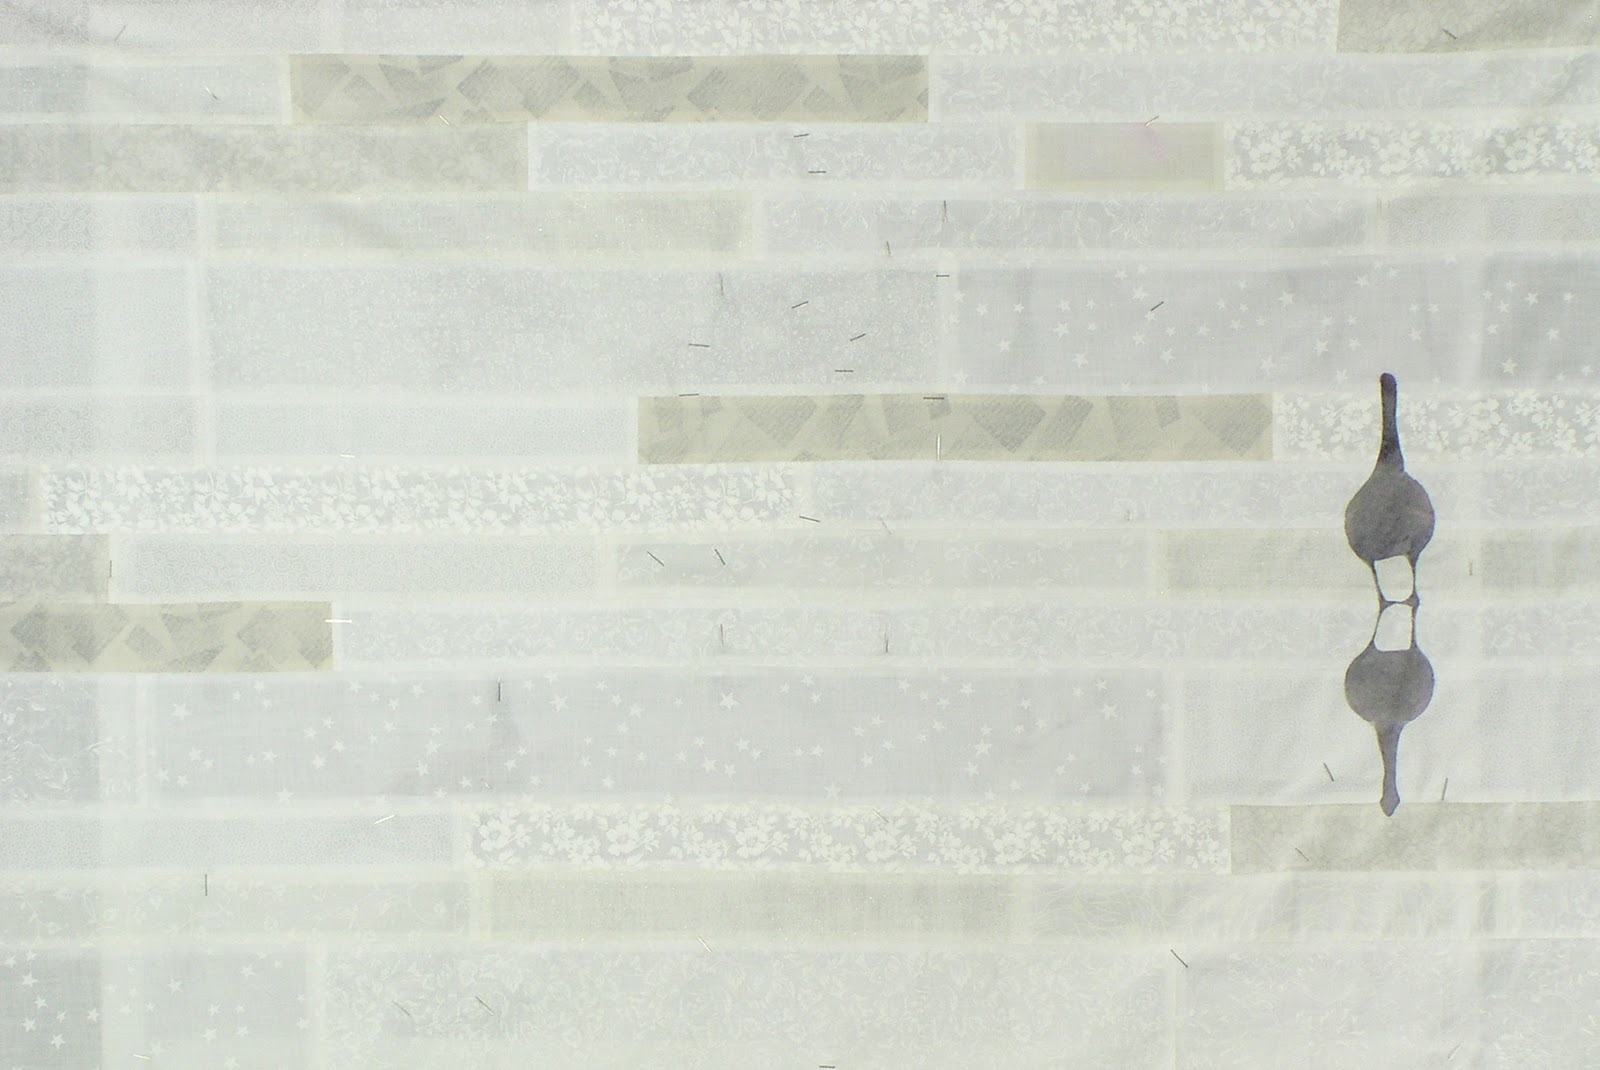
The work on "Reflection" begins in earnest.
It is tempting to leave just the one goose. 

a) Continue to experiment with painting the geese. - What I did instead was learn more about mixing paint. I will tackle painting the geese after I have finished the paint mixing segment.

b) Develop a way to incorporate the painted geese into an artwork that references but does not replicate the original photo that is its catalyst. - Done! What I decided to do is print out the photograph in segments that could be seamed together. Then I am reverse appliquéing those geese I want included in the quilt to the background of ice. I still plan on painting the geese and enhancing the paint with some stitching. 

What on earth will I be up to for the week ending February 22, 2013? Perhaps this plan will work:

1) Shore's Edge (Absolute deadline March 21, 2013)

a) Create the binding and sleeves.

b) Start to attach the binding.

2) Pictorial Painting

a) Continue to work on my paint mixing matrix.

3) Express Your Love

a) Do whatever assignment Leah comes up with next.

4) Reflection (Absolute deadline April 23, 2013)

a) Finish reverse appliquéing the geese to the background.

b) Mark where the red branches will be.