Showing posts with label sea foam. Show all posts

Friday, January 15, 2016

Week in Review 2016 - 01/15My first


My first batch of hand dyed
fabrics. I used New Black, a low
water immersion method, doubling
the amount of dye solution each
time to create an 8 step gradation
Tips, Thoughts and Techniques:

I'm dyeing here. Last week I wrote that the fear of embarking on a five week dyeing course had me quaking in my boots. I can't say I have overcome my fear. However, I have reached a point where I am eager to push forward. The amount of work feels staggering. Some students handle this by only doing a portion of the suggested assignments or acknowledging that life is busy and they will do the lesson next week, later, some day... There is one student who is sharing all sorts of bonus tests she is doing beyond the assignment. I'm not an overachiever, in that I tend not to do more than what is assigned. I do apply myself as though each assignment was a final exam and I am determined to get an A. 

Yesterday I was reading a discussion on the topic of on-line classes and how some feel they are a waste of time. Really? I find this reaction puzzling, but not that unexpected. In fact expectations are the key. How many times have you signed up for a class on impulse or because a friend wanted you to join her? Then when it was time to start the class life got in the way, you realized you had zero interest in macrame or you didn't have time to pull together materials and hoped you could just punt. 
This is my second batch of hand dyed fabric. I used
Basic Blue, low water immersion and diluted the original
dye solution as I went, creating 8 grades of blue.

The key to any class whether it is online or in person is to be sure it is on something you want to learn. Then do it. Do all of it. Ask questions. You can be sure someone else has the same question. Share your discoveries and excitement. Give yourself permission to fail. The class will feel awkward if you are doing something that is new to you. That's OK. When you are learning you are engaged. When you are engaged congratulate yourself for being OPEN (my word for the year) and having the courage to put yourself out there and try something new.

The facing process for sea foam from left to right:
1. The facing is stitched around the piece right sides to
right sides leaving an opening at one narrow end so that
the work can be turned right side out.
2. The seams are trimmed to a scant 1/8" and then the concave
portions are clipped and convex sections are notched.
3. The work is turned right sides out and the piece is
pressed into submission encouraging the facing
towards the back. (Click on image to zoom in.)
It wasn't easy staying OPEN to dyeing this week. I had my share of upset, some might say freaking out, as the wet studio felt out of control with supplies. I dripped and splattered my way through nearly ever phase. My darks are not as dark as they should be. Why? I followed the directions. I analyzed the directions and realized that I would have done the ratio of dye differently for the darks in both batches. 

I was determined to do more than dye and I did, as you can see:

1)  Work on Sea Fever - (Due March 15)

I finished free motion quilting the sea foam, cut it into segments and began to face it.

2) Free motion quilting practice.

I opted not to challenge myself with a new motif. Instead I saved time by counting the hours I spent working on sea foam as my FMQ practice.

3 Do some surface design work - Done!

Two runs of 8 hand dyes was this week's surface design work.

4) Beware of when I find myself shutting down and find a way to stay open.

I kept working on my hand dyed fabrics, staying open to accepting whatever the final results were, they would be just fine. I also tried seaweed salad for the first time. I've been tempted for years but find the radioactive green very off putting. I'm not sure I'll have it again, but I am glad to have been open enough to at least try a bit. 

Where will my being open take me next week? I know I have plans to dye again and have seen that we will be doing deep bucket dyeing. I am hoping to be open to my muse as I find ways to use the sea foam I've made in my current WIP. All of this is listed succinctly in my plans for the week:

1)  Work on Sea Fever - (Due March 15)

2) Free motion quilting practice.

3 Do some surface design work

4) Beware of when I find myself shutting down and find a way to stay open.

I am now linking up to two blogs on Fridays. The first is Nina Marie's Off the Wall Fridays and the second is Free Motion Mavericks.

Friday, January 8, 2016

Week in Review 2016 - 01/08


Tips, Thoughts and Techniques:

I've been happily creating more sea foam for Sea Fever.
The plan is to have bands of sea foam. It occurred to me
that it would be easier to quilt all the bands at once on
a single quilt sandwich, then cut the bands apart and face
them. The open "worms" are where the cutting will take place.
A closeup of the sea foam. Note how I have purposefully
built up some thread lines and left some big bubbles
in the foam. The top is a faint blue and white fabric
that has been layered with tulle impregnated with glitter.
How does fear, especially irrational fear, hold you back from doing what you want to do in life? Fear is there to protect us from danger. It can also cripple us from moving forward. 

I've been thinking a lot about this subject as I commit to a year of surface design. Why? Simple, I am easily intimidated, even fearful of doing surface design projects. I  become so overwhelmed by the very prospect having all the materials I will need, how they must be set up, how will I cope if my dye turns upside down coating everything and will I have the energy to see the process through from set up to clean up. The more anxious I become, the more I want to do anything else but head into my wet studio.  

What if I let my word for the year, OPEN, guide me? What if I stay open to the possibility that I can do many surface designs techniques if I only give them a try? Imagine all the unique and inspiring fabric I will have to work with. 

I may be my own worst enemy, but I can also be my own best champion. What I have learned about myself is that if I break down a challenge into very manageable steps and take the first one, and then the next and the one after that, I surprise myself by how quickly the progress made inspires me to continue. 

This is the backside of the sea foam in progress. Yes,
it is very intensely quilted. The section shown is
approximately 9" x 12".
Today I am starting Basic Dyeing for Quiltmakers, an on-line class taught by Elizabeth Barton. I've been fretting about this day ever since I started the class. This morning I opened the first lesson. PANIC. I was instantly overwhelmed. Even though I had gone over the necessary equipment in advance and made sure I would have everything before class. Why panic, because now Elizabeth was advocating that I have a designated dorm room style refrigerator to store my dye between sessions. I mean really? - a separate refrigerator? You have got to be kidding. Time for my champion self to talk to  my quivering mass of jelly self and get me off the ledge. Buying a separate refrigerator and providing it with energy just to store dye was not going to happen. Store the dye in the same refrigerator we store our food is unwise and would take up space we don't always have after a weekly grocery shopping. What to do? Then it occurred to me, why not store the dye in the garage? We live in "cold" country. The garage is insulated sufficiently not to go below freezing, but cold enough to be refrigerator temperature. Even better there is a designated stairway from the basement where my wet studio is directly to the garage. So, I wouldn't have to carry the dye over my wall to wall dove grey carpeting. Solution found. Fear reduced.

Remember last week's bleeding disaster?
The bleeding is very clear from the backside.
When I wasn't tying myself into knots over my upcoming class I managed to make progress on my plan for the week. Here is what I did get done:

1)   Deconstructed Sunrise #3 - Add  label - Done!

I printed and attached the label, then sent Deconstructed Sunrise #3 to "shipping central" where it will be stored with its fellow My Corner of the World - International quilts until the collection is shipped to the Stratford Perth Museum.

2)  Work on Sea Fever - (Due March 15) - Done!

I tried painting with Tsukineko inks again, but this
time I blended them with shaving cream before
painting the design. The outer ring was done with
permanent pens.
This has been a joy to work on. I find free motion quilting so relaxing, so zen, that it is the perfect antidote to the fear caused by contemplating the dyeing class.

3) Free motion quilting practice. - Done!

Although the amount of quilting I managed was approximately (9" x 16") it is so intense that I had to refill the bobbin with Bottomline thread three separate times.

4) Do some surface design work - Done!

This is the backside of this week's ink experiment.
Much, much better. 
Last week I was disappointed that my attempt to paint with Tsukineko inks was less than successful. It did suggest that what was needed was a way to thicken the ink so that it wouldn't bleed when applied. Since I found mixing the ink with shaving cream so successful for broad brush applications, perhaps a more intense blend of shaving cream and ink could handle detail work. It did!

5) Beware of when I find myself shutting down and find a way to stay open. - Done!

See my "opening" thoughts. Pun intended. :)

This time next week I hope to be writing about my first dyeing experience. Then there are other projects to keep moving as listed below:

1)  Work on Sea Fever - (Due March 15)

2) Free motion quilting practice.

3 Do some surface design work

4) Beware of when I find myself shutting down and find a way to stay open.

I am now linking up to two blogs on Fridays. The first is Nina Marie's Off the Wall Fridays and the second is Free Motion Mavericks.

Friday, January 1, 2016

Week in Review 2016 - 1/01


Still playing with Tsukineko inks
Tips, Thoughts and Techniques:

It came to me this morning. I know just the word to choose as my word for the year. It is OPEN. I plan on this word subtly guiding me throughout the year, especially with staying open to new ideas and what life throws at me.

I printed a public use line drawing found on Bing.com
to see if I could "paint" with Tsukineko inks.
The answer was a resounding NO. I attempted
to "fix" the mess with Jacquard Lumiere  paints.
Better, but still a disaster. The ink, even a single
drop on a tiny, dry brush rapidly leeched through
the cotton fabric. The paint covers that up, but you
can see what happens with the ink outside
the rim of the circle.
Last year I recall how energized I felt at committing to just showing up in the studio for 126 days. It felt like a very reasonable goal, considering I had managed 120 days in 2013. I was so excited to have a year devoted to just doing the work. I knew I could do it because I had already developed the habit of being in the studio three days a week. Then, only four weeks into 2015 I was asked to act as interim Chair of SAQA's Exhibition Committee. I agreed and ultimately made the decision to become The Chair vs. interim chair. It is an amazing experience. I am fortunate to have the support of sixteen committee members (volunteers, SAQA staff and SAQA Board members) on the committee as well as the assistance of others throughout the SAQA organization. For those of you reading this blog who are unfamiliar with SAQA and/or the scope of SAQA's exhibition this should put it prospective. In 2016 SAQA will have 16 active exhibitions touring the United States and beyond, showing at 34 separate venues, with approximately 35 different artworks in each exhibit. The reality of keeping on top of all that comes across my desk (computer - it is a virtual job, with the occasional phone call) means I spend time, at least a full studio day worth of time, each week with my Chair hat on. 

What would have happened last year if I hadn't committed to working 126 days in my studio? My guess, and I can only conjecture here, is that I wouldn't have worked as hard at finding time to both be in the studio and fulfill my obligation as Chair. 

Deconstructed Sunrise #3 was
accepted into My Corner of the World (Int'l.)!!
The experience of such an abrupt change in my life, was a good reminder that life is unpredictable. Just as art, can be unpredictable. I find this especially true when working in my wet studio on surface design projects. So, this is why staying OPEN just feels right as I begin the new year.

This past week was both humbling and extremely gratifying. It was humbling, because one of my Tsukineko ink experiments was a disaster. It was gratifying because Deconstructed Sunrise #3 was accepted into My Corner of the Word (Int'l.) a SAQA touring exhibit. This is my first SAQA acceptance in nine years and I have applied to multiple SAQA exhibits over the years, always getting the slim envelope. Before you ask, I have zero advantage as Chair, all of our exhibitions are juried blind, in other words the juror bases her selection solely on the work and her vision for the exhibition, not on who made it.

When I managed to scrape myself off the ceiling from being accepted and focus in on the work at hand, this is where I turned my attention.

1)   Deconstructed Sunrise #3 - Add sleeves and label - At least this week I can report that the sleeves are done. I should be able to add the label now that I know what must be included on it.

2)  Work on Sea Fever - (Due March 15) - Done!

Much of what I am doing on Sea Fever is experimental or involves techniques that I have used rarely and when I did it was many years ago. I have lots to brush up on.
Creating sea foam for Sea Fever has meant relearning
how to do a pillow case facing.

3) Free motion quilting practice. - Done!

I've been working on different motifs for Sea Fever. 

4) Post the number of days I have worked in my studio in 2015 - 111/126

I fell 15 days short of my goal. This wasn't what I expected as a year end result back in January 2015, but it is much better than I expected when I took stock halfway through 2015. 

5) Experiment with Tsukineko ink - Done!

Not all the Tsukineko ink experiments ended in disaster.
I'm rather partial to this piece.
My attempt to paint directly (no shaving cream) with Tsukineko ink was a nightmare. Boy, does it bleed. I may try again, but saturate shaving cream with color and paint with that in order to eliminate or reduce bleeding. If that doesn't work, then it is time to investigate other media for detail painting. This is a disappointment, because what I love, love, love about the inks are that they can be blended to make new colors. I've tried Inktense pencils and don't like the feel of them - I want something that glides along the cloth when I paint/draw. 

6) Perform a random act of kindness - Done!

What will I need to be open to next week? Who knows? What I do know is that I have a plan which is:

1)   Deconstructed Sunrise #3 - Add  label

2)  Work on Sea Fever - (Due March 15)

3) Free motion quilting practice.

4) Do some surface design work

5) Beware of when I find myself shutting down and find a way to stay open.

I am now linking up to two blogs on Fridays. The first is Nina Marie's Off the Wall Fridays and the second is Free Motion Mavericks.

Friday, June 28, 2013

Weekly Report 2013 - 06/28


Oyster Bay is 24" H x 36" W. If you click on the image
you can see an enlarged version. 


This just might be a first. I started quilting Oyster Bay on Monday and finished quilting it on Thursday. It is a midsize artwork at 24" H x 36". Still I don't think I could have done such a complex pattern of FMQ if I hadn't been been developing my FMQ with Leah Day for 18 months now. That isn't all I did this past week. Here is how the week played out:

1) “Oyster Bay” (deadline 8/20/2013)

I opted for gentle undulating lines to suggest current
and wave action in the ocean section of Oyster Bay.
I used Lava Rock filled in with foam for the beach. This
combines the undulating lines in the ocean with the sea foam.
It is also suggests those little clumps of sea foam that are left
behind after a wave recedes.

a) Quilt Oyster Bay - Done!

b) Bonus - Squared up the quilt in preparation for facing.

Practice piece exploring the possibility of using the
Basic Maze motif to simulate rain.
2) Leah Day

a) Express Your Love - attach second sleeve. - Done! Express Your Love is done!!

b) Do whatever assignment Leah comes up with next. - Done!

This week's quilting motif is titled Basic Maze. It looks like marks on a ruler. It reminded me of rain. So, I put together two scraps of fabric to imply a landscape and practiced Basic Maze. I thought with the addition of some trees and smaller vegetation this could make a good  Fabric Postcard. 

3) Signature experimentation

a) Design a new signature motif. - Done!

This will be my "art" signature unless I design something
I like better. I like the simplicity of this with just a hint of
flourish. It doesn't overwhelm, but nor is it hidden.

I spent some time experimenting with my monogram and date to use as a signature on the front of my quilts. I settled on the one I used in Oyster Bay. I have always labeled my quilts and will continue to do so. However, a signature is a stronger way of sending each artwork off with a flourish. Why sign your work? This article says it all!

4) Pictorial Painting - This WIP still hangs on my design wall. Some day.

a) Watch the lesson that demos how to quilt the Canyon piece.

b) Quilt "Canyon."

Next week is a short week due to the July 4th holiday. My plan is to clear the decks so that I can begin the next exhibition quilt the following week.

1) “Oyster Bay” (deadline 8/20/2013)

a) Face the quilt.

b) Make and attach the sleeves.

c) Make and attach the label.

d) Add Oyster Bay to my website.

2) Do whatever assignment Leah comes up with next.

3) Pictorial Painting

a) Watch the lesson that demos how to quilt the Canyon piece.

b) Quilt "Canyon."


I am now linking up to two blogs on Friday's. The first is Leah Day's Free Motion Quilting Project and the second is Nina Marie's Off the Wall Fridays.


Friday, June 21, 2013

Week in Review 2013 - 06/21


Experiments with threads, Derwent Inktense
pencils and paint.

It was a gutsy move for me when I shared that I had entered "Tangled Up in Blue" before I knew whether I was getting a thumbs up or thumbs down. I knew I had a strong piece, with Adoration, but so much depends on what else is submitted and how Adoration would play with the other work selected. I am delighted to say I got the thumbs up. Adoration can be seen at The Brush Art Gallery, in Lowell, MA from August 8 through September 7. If Lowell is doable for you, I recommend going during the Lowell Quilt Festival and saturating yourself with all the exhibitions in town that weekend.

I have made it my mission to get my work out there. In order to achieve this I have been submitting my work to a different call for entry, either public or private ones, every week this year. It has paid off. My work can be seen in 12 upcoming exhibitions, mostly in the USA, but one takes place in Johannesburg, South Africa in September. Most are posted on my website under events.

It isn't easy coming up with all that work to submit to galleries and exhibitions. That is why I pledged to work 120 days a week in my studio during the fiscal year October 1, 2012 - September 30, 2013. It only took a couple of weeks to get into the rhythm. Now I can't imagine working any other way. Here is what I managed to accomplish during the week ending June 21, 2013.


1) Adoration

a) Attach the label - Done!

b) Add to my website - Done! Here is the proof. 

2) “Oyster Bay” (deadline 8/20/2013)

a) Experiment with ways to add the purple staining and lines seen on the inside of an oyster shell. - Done

Finally an experiment that works. I decide to
go with Setacolor paints blended with a
floating gel medium.


Here is how the painted oyster shell looks. Thanks to
Annette Kennedy's class I am able to blend the color
I need and fade the color in a gentle gradation using
floating medium.

b) Attach the oyster shells to the quilt. - Done!


Detail from Oyster Bay


Oyster Bay as it looks today.

c) Add a few more ridges of foam to balance the white of oyster shells in the composition. - Done!

This is why you save those scraps. I thought I would
have just one row of  foam, but when the composition
screamed out for more white I was very grateful to
have these left over scraps!
3) Leah Day

a) Express Your Love

         i) Hand stitch the facing in place. - Done!
        ii) Attach the label. - Done!
       iii) Create and attach the sleeves. Both are created and one is attached.

b) Do whatever assignment Leah comes up with next.

Sampler of Lava Rocks infused with sea foam.

This week's motif from Leah is called Lava Rocks. Naturally, I couldn't resist adding my own twist. I thought two things, one that Lava Rocks as is would make a nice tree fungus and two, if I added sea foam to the cobblestone shaped gap that is being echoed I could use Lava Rocks with Sea Foam for my beach background in Oyster Bay. In order to see how it would quilt out  I selected a fabric that I might use for tree bark. I have deemed the experiment successful and will use it in Oyster Bay next week.

4) Signature experimentation - Never got any further than Leah's assignment. 

a) Design a new signature motif.

5) Pictorial Painting

a) Watch the lesson that demos how to quilt the Canyon piece.

b) Quilt "Canyon."

I am on such a roll with Oyster Bay, that I assume that is where I will focus next week. Still, it is nice to have a couple of other ideas lined up should I need a change. Here are my plans for the week ending June 28, 2013:


1) “Oyster Bay” (deadline 8/20/2013)

a) Quilt Oyster Bay

2) Leah Day

a) Express Your Love - attach second sleeve.

b) Do whatever assignment Leah comes up with next.

3) Signature experimentation

a) Design a new signature motif.

4) Pictorial Painting

a) Watch the lesson that demos how to quilt the Canyon piece.

b) Quilt "Canyon."

I am now linking up to two blogs on Friday's. The first is Leah Day's Free Motion Quilting Project and the second is Nina Marie's Off the Wall Fridays.

Friday, June 7, 2013

Week in Review 2013 - 06/07

Tips, Techniques and Thoughts:

My newest work in progress, “Oyster Shard’s” background was free form curved pieced. I used a method similar to the one Alicia Merrett’s demonstrates.  The first thing I do is press and starch my fabric BEFORE I cut it. I prefer to pin my fabric before sewing. To match the seam I flip the two pieces of fabric to be seamed wrong side up and lay them out, as they will be sewn. Then I mark the tops, bottoms and halfway points of each curve on both fabrics. These marks are where I will place my pins. I prefer to use an 1/8” seam allowance for curves. As you can see in the detail photo, I am able to achieve a smooth seam allowance.

Detail from "Oyster Shards" highlighting the curved piecing.

It has been a busy week in my studio. There is something very heady about starting something new. Just as there is something energizing about clearing out the clutter from prior projects. I did both. I even caught up on my Leah Day assignments. Here is how the week played out.

1) Adoration

a) Attach the sleeve – Done!

b) Make and attach the label – Printed but not attached.

c) Add to my website – Not yet.

2) “Oyster Shards” (deadline 8/20/2013)

a) Piece the three (oops four) background strips – Done!

The background for "Oyster Shards" is pieced. When
finished the quilt will be ~ 24" H x 36" W

b) Create the oyster shell template – Partially done. I have the image printed out. I still need to transfer it to freezer paper.

Tight close-up of "Oyster Shards" to show the sea foam strip.

I created the sea foam by laying from bottom up, sea fabric, white tulle that already had imbedded glitter, eyelash yarn and a second layer of tulle. I then quilted the layers together with small, medium and large circles. I travel stitched around the larger circles three times to build up thread.

3) Leah Day

a) Express Your Love

         i) Square up quilt - Done!
         ii) Make binding – I have decided to face this quilt, not bind it.
         iii) Attach binding – No longer applicable.
         iv) Make and attach label – Printed, but not attached.

b) Finish last week's assignment from Leah Day. – Done!

I am having a lot of fun creating tableaux with the assignments Leah is handing out.

The turquoise and white threads are stitched using Ribbon Stage.
I created the red flaming sun with Inside the Sun. I varied Leah's
motif by finishing the sky with small spirals.

c) Do whatever assignment Leah comes up with next. – Done!

As soon as I saw Leah's motif, Cobblestones, I knew I wanted to stitch a formal garden using Cobblestones for the path. In one of those moments of synchronicity the very next pattern to learn was Permed Fern. Note I purposefully built up the thread along the path's edges to give a feeling of curbing. The cobblestones are stitched with a variegated 35 lb. weight thread. It is predominately gray and blue-gray, with a very occasional brick segment.

"Fantasy Garden" is approximately 10" square.

4) Signature experimentation

a) Design a new signature motif. – Not done.

5) Pictorial Painting

a) Watch the lesson that demos how to quilt the Canyon piece. – Not yet.

b) Quilt "Canyon." – Not yet.

6) Bonus Project – Cleaned up my studio, replacing fabric on the shelf and clearing off my design wall of all reference and sample materials from completed quilts.

I have two large pieces of non-studio business to attend to in the week ending June 14. I don’t expect to accomplish everything on my list. However, this is the game plan for all the projects I have coming up.

1) Adoration

a) Attach the label

b) Add to my website

2) “Oyster Shards” (deadline 8/20/2013)

a) Create the oyster shell template

b) Make an oyster shell to be appliqued to the background.

3) Leah Day

a) Express Your Love

         i) Cut facing strips.
         ii) Stich facing strips to the quilt.
         iii) Hand stitch the facing in place.
         iv) Attach the label.

b) Do whatever assignment Leah comes up with next.

4) Signature experimentation

a) Design a new signature motif.

5) Pictorial Painting

a) Watch the lesson that demos how to quilt the Canyon piece.

b) Quilt "Canyon."

I am now linking up to two blogs on Friday's. The first is Leah Day's Free Motion Quilting Project and the second is Nina Marie's Off the Wall Fridays.


Friday, February 15, 2013

Week in Review 2013 - 02/15

One thing is becoming abundantly clear since I started posting my plans for each week and how they overlay with what I actually do, there is always a discernible difference. Sometimes the difference is small, but more often than not it seems as vast as the Grand Canyon. Is this a bad thing? Not necessarily. Therefore, this week's thought is a reminder to stay flexible, especially when creating. If something isn't working, find a way to fix it or just get rid of it and start over. If one thing leads to another, go with the flow. Listen to your inner voice. Learn to trust it. Find a way to balance staying in the moment with reflecting on all that has been accomplished to this point and then look to future for motivation to continue.

I accomplished much this week, just not what I thought I would. Here is how the week ending February 15, 2013 played out:

1) Shore's Edge (Absolute deadline March 21, 2013)

"Shore's Edge" is 30" H x 46.5" W
The sea foam and spray is added.


a) Fuse the sea spray (Angelina Fiber creation) to the quilt. - Done!

b) Start adding a scattering of beads to the foam and ocean to indicate bits of foam and spray. - Done!
However, if you are looking for beads indicating foam and spray you won't find them. Here is what I tried...

i. Securing the Angelina Fiber creation down with beads. Rejected.
ii. Securing the Angelina Fiber with Steam a Seam 2 Lite. That worked for the spray but not the lead edge and crests of the mini waves.
iii. Tried couching yarn. - Rejected
iv. Tried satin stitch. - Rejected
v. Tried braiding the yarn and then stitching it into place. Finally! Even this was problematic as I fiddled with different quilting feet to find one that wouldn't jam. I ended up using my open toe foot.
vi. I also tossed white and crystal beads around the ocean in strands and clusters but they looked like beads and not spray. So, no need to bead.

2) Pictorial Painting

The set up of paints in my wet studio (doubles as a laundry room).

a) Add the label to the Calla Lily piece. - Done! 

b) Watch the introduction for the second and final project in the class. - Done! However, it turns out that there is a bonus section on how to mix paint in the middle. So, what I really did was watch the instructions for the bonus section and not the final project. 


c) Gather the materials together to begin the final project. - Done! See above. 

Let the paint mixing begin. Seeing what happens when paint
is mixed and applied to muslin vs. a print.

What I worked on was creating a matrix of what happens when you blend the paints Mickey Lawler uses as a her base paints in SkyDyes. Being the over achiever that I am I couldn't resist creating the matrix on white muslin as well as a print. The left hand column and the upper row represent the paint before it is blended. I didn't catch on until I blended the yellow with the violet that I was supposed to blend them so that in the row the yellow dominates and in the column the violet dominates. Oh, well... You can see that I have two stripes of each color in square. The one on the left side is undiluted paint. The stripe on the right has been created with paint diluted with water at 1:1. Annette Kennedy recommends using the paint full strength. The reason becomes obvious when you look at the matrix. The watered down paint tends to travel a little bit and form a darker edge. Of course this could be advantageous if that is what you need.  

3) Express Your Love

a) Do whatever assignment Leah comes up with next. - Leah was busy filming for her latest Craftsy.com class and didn't post an assignment this week. Her newest class isn't available yet. However, her first class on Craftsy.com is. I can't emphasize enough how much I learned last year by following along with Leah. I missed my excuse to do some free motion quilting.

4) Reflection (Absolute deadline April 23, 2013)

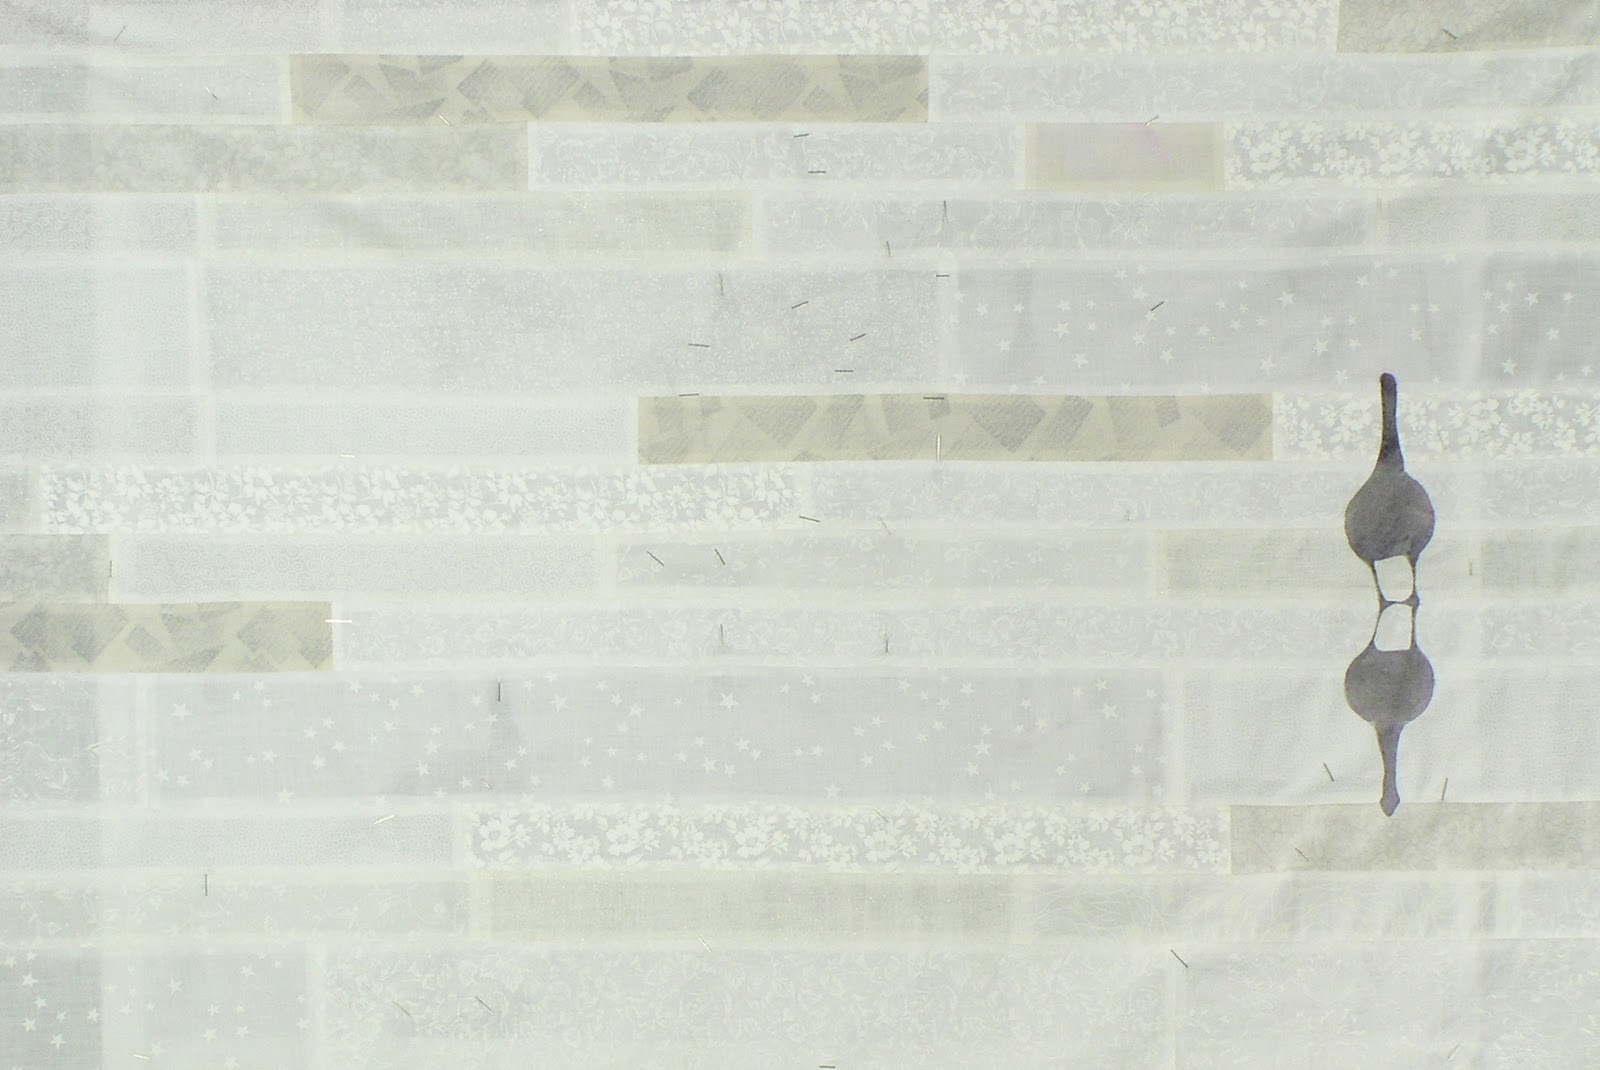
The work on "Reflection" begins in earnest.
It is tempting to leave just the one goose. 

a) Continue to experiment with painting the geese. - What I did instead was learn more about mixing paint. I will tackle painting the geese after I have finished the paint mixing segment.

b) Develop a way to incorporate the painted geese into an artwork that references but does not replicate the original photo that is its catalyst. - Done! What I decided to do is print out the photograph in segments that could be seamed together. Then I am reverse appliquéing those geese I want included in the quilt to the background of ice. I still plan on painting the geese and enhancing the paint with some stitching. 

What on earth will I be up to for the week ending February 22, 2013? Perhaps this plan will work:

1) Shore's Edge (Absolute deadline March 21, 2013)

a) Create the binding and sleeves.

b) Start to attach the binding.

2) Pictorial Painting

a) Continue to work on my paint mixing matrix.

3) Express Your Love

a) Do whatever assignment Leah comes up with next.

4) Reflection (Absolute deadline April 23, 2013)

a) Finish reverse appliquéing the geese to the background.

b) Mark where the red branches will be.