Showing posts with label signature. Show all posts

Friday, June 28, 2013

Weekly Report 2013 - 06/28


Oyster Bay is 24" H x 36" W. If you click on the image
you can see an enlarged version. 


This just might be a first. I started quilting Oyster Bay on Monday and finished quilting it on Thursday. It is a midsize artwork at 24" H x 36". Still I don't think I could have done such a complex pattern of FMQ if I hadn't been been developing my FMQ with Leah Day for 18 months now. That isn't all I did this past week. Here is how the week played out:

1) “Oyster Bay” (deadline 8/20/2013)

I opted for gentle undulating lines to suggest current
and wave action in the ocean section of Oyster Bay.
I used Lava Rock filled in with foam for the beach. This
combines the undulating lines in the ocean with the sea foam.
It is also suggests those little clumps of sea foam that are left
behind after a wave recedes.

a) Quilt Oyster Bay - Done!

b) Bonus - Squared up the quilt in preparation for facing.

Practice piece exploring the possibility of using the
Basic Maze motif to simulate rain.
2) Leah Day

a) Express Your Love - attach second sleeve. - Done! Express Your Love is done!!

b) Do whatever assignment Leah comes up with next. - Done!

This week's quilting motif is titled Basic Maze. It looks like marks on a ruler. It reminded me of rain. So, I put together two scraps of fabric to imply a landscape and practiced Basic Maze. I thought with the addition of some trees and smaller vegetation this could make a good  Fabric Postcard

3) Signature experimentation

a) Design a new signature motif. - Done!

This will be my "art" signature unless I design something
I like better. I like the simplicity of this with just a hint of
flourish. It doesn't overwhelm, but nor is it hidden.

I spent some time experimenting with my monogram and date to use as a signature on the front of my quilts. I settled on the one I used in Oyster Bay. I have always labeled my quilts and will continue to do so. However, a signature is a stronger way of sending each artwork off with a flourish. Why sign your work? This article says it all!

4) Pictorial Painting - This WIP still hangs on my design wall. Some day.

a) Watch the lesson that demos how to quilt the Canyon piece.

b) Quilt "Canyon."

Next week is a short week due to the July 4th holiday. My plan is to clear the decks so that I can begin the next exhibition quilt the following week.

1) “Oyster Bay” (deadline 8/20/2013)

a) Face the quilt.

b) Make and attach the sleeves.

c) Make and attach the label.

d) Add Oyster Bay to my website.

2) Do whatever assignment Leah comes up with next.

3) Pictorial Painting

a) Watch the lesson that demos how to quilt the Canyon piece.

b) Quilt "Canyon."


I am now linking up to two blogs on Friday's. The first is Leah Day's Free Motion Quilting Project and the second is Nina Marie's Off the Wall Fridays.


Friday, May 10, 2013

Week in Review 2013 - 05/10


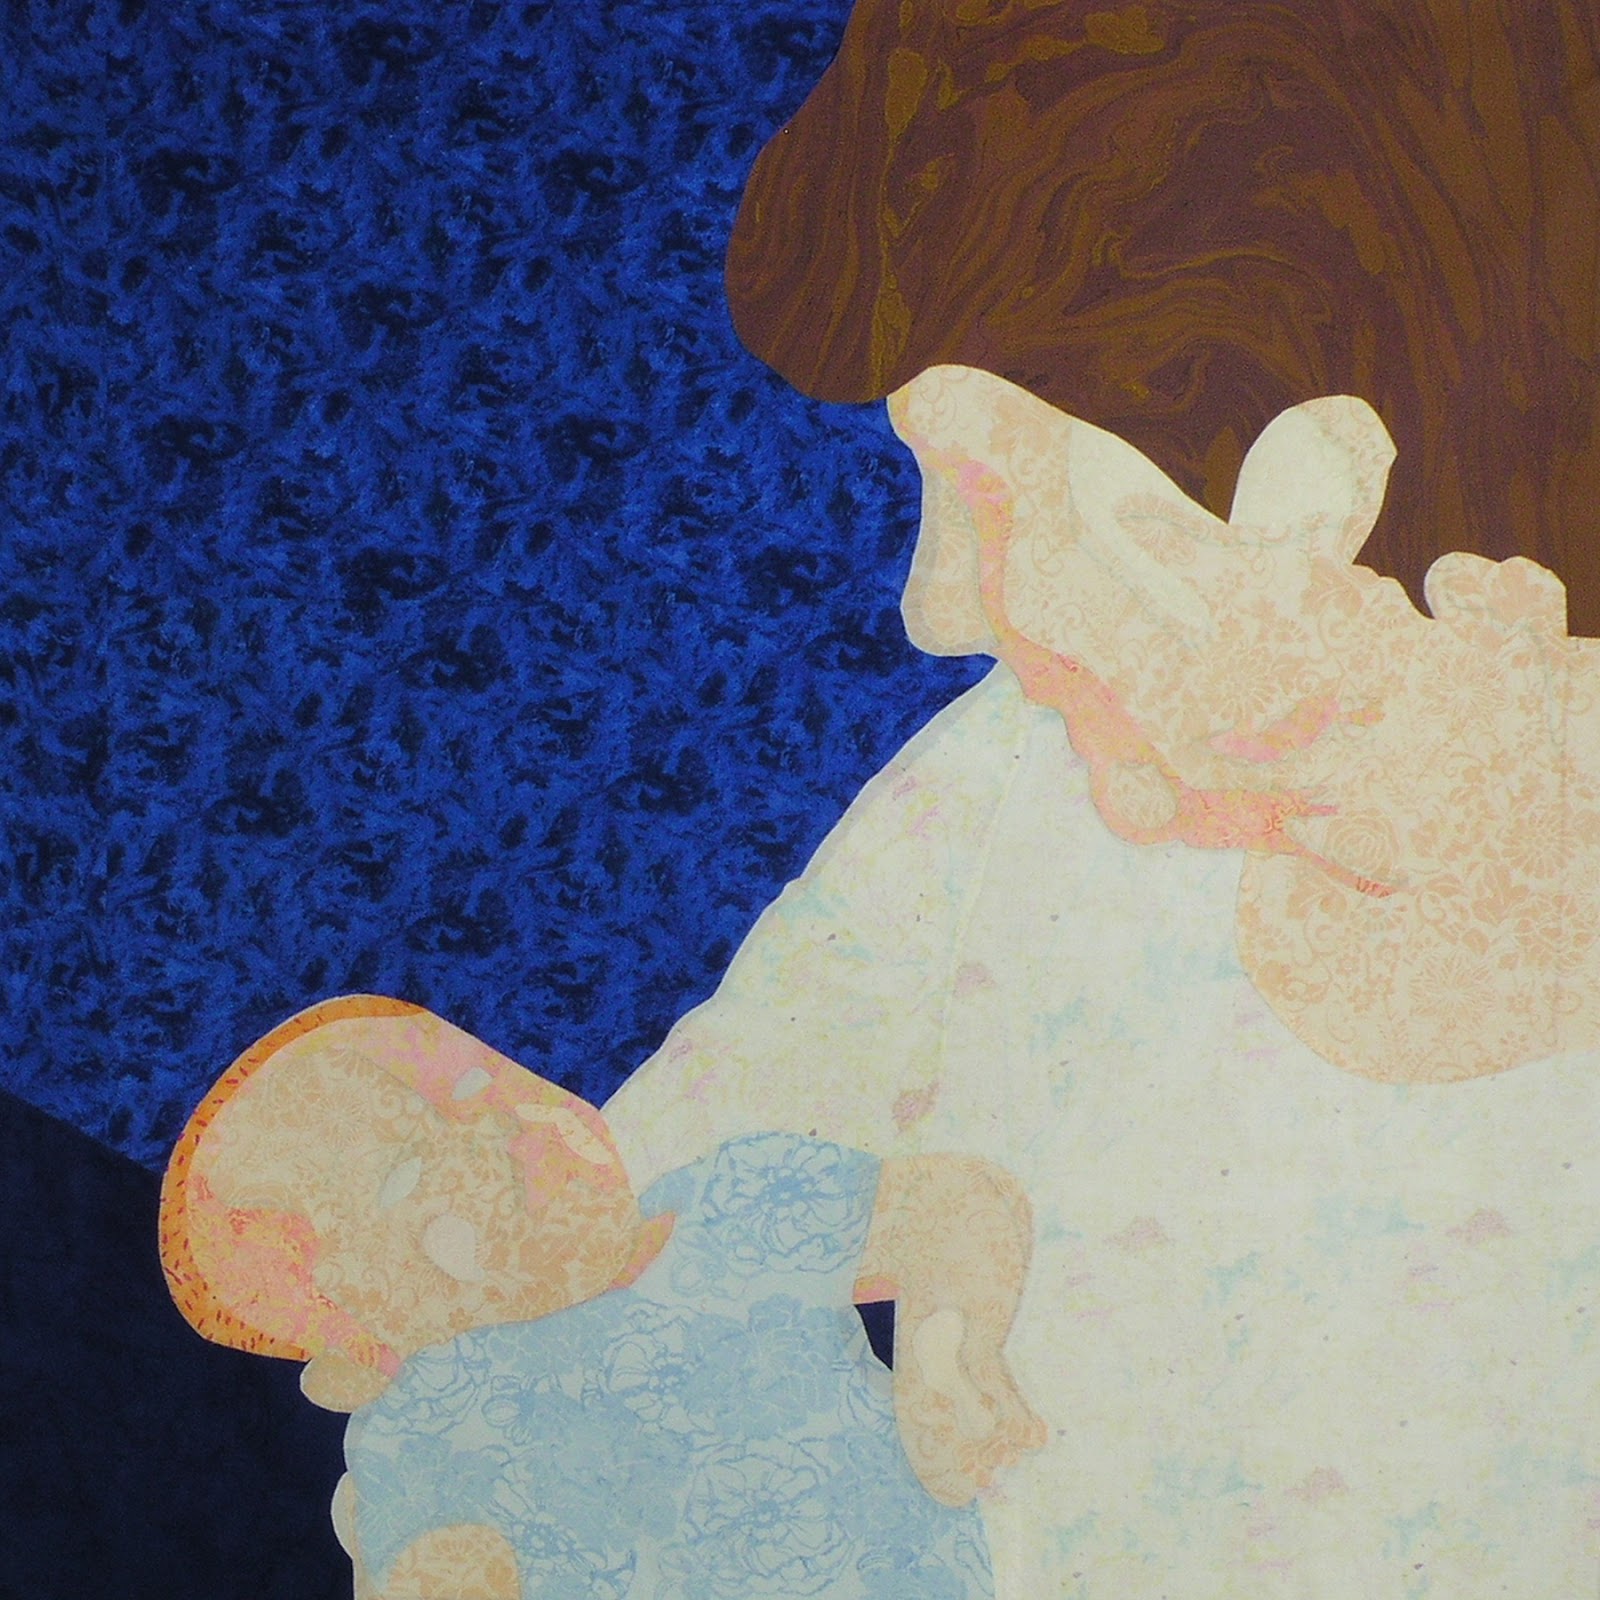
"Adoration" after it was pieced, but before it was painted.


What was I thinking? Clearly I wasn’t thinking because I didn’t come close to following my game plan for the week. This leads me to…

Tips, Thoughts and Techniques:

I have one word to wrap up the week – focus. There are times when focus is needed to meet a deadline. There are also times when one becomes so obsessed with a project that it becomes all consuming. My advice is to grab that overriding need to work on a project and hang on. That is precisely what I did this week in my studio, which is why my plan and what I actually did barely align.

1) Pictorial Painting

a) Watch the lesson that demos how to quilt the Canyon piece. – Not done.

b) Quilt "Canyon." – Not done.

2) Express Your Love

a) Do whatever assignment Leah Day comes up with next. – Watched the assignment video and took the first small step. Not a big enough step to photograph.

3) Adoration (Shooting for a deadline of June 1, 2013)

a) Paint the shadows, highlights and fine details necessary to bring the piece to life. – Done!

"Adoration" after the it was painted and inked.


b) Sandwich the quilt. – Done!

A close up of "Adoration".
The brown herringbone stitches are basting stitches.
They will not be removed during the quilting process.


c) Bonus – I ordered the thread I will need to quilt Adoration next week.

4) Signature experimentation

a) Design a new signature motif. – Done. (I’m counting this as my free motion quilting project that allows me to link to Leah Day’s blog.)

I'd love to say that I thought turn the date
90 degrees. However, it seems my sewing
machine stitches numbers and letters from
top to bottom versus from right to left.


5) Plan the next art piece. – Didn’t even give it a thought.

My hunch is that I will continue to focus on Adoration for the week ending May 17. It really depends if I receive the thread by Monday. Fortunately, there are other projects to catch up with should the thread not arrive on time. Therefore, my plan is to start with step 1 unless circumstance force me to start at step 2:

1) Adoration (Shooting for a deadline of June 1, 2013)

a) Quilt Adoration.

b) Square up the piece in preparation for facing.

2) Express Your Love

a) Finish last week's assignment from Leah Day.

b) Do whatever assignment Leah comes up with next.

3) Signature experimentation

a) Design a new signature motif.

4) Pictorial Painting

a) Watch the lesson that demos how to quilt the Canyon piece.

b) Quilt "Canyon."

5) Plan the next art piece.


Friday, May 3, 2013

Week in Review 2013 - 5/03


Remember how "Canyon" looked before it was painted?
Read further to see how much it has changed.
I’m back! For those of you who read my blog regularly and thoroughly you may have noticed that I had a planned two week gap between studio progress recaps. The reason was a scheduled trip to the southwest that finished up in Santa Fe, New Mexico for the SAQA conference. If you are interested in art quilts than SAQA is the organization for you. It includes over 3,200 international members, mostly art quilters, but also patrons, gallery owners, business owners and students. It is because I joined SAQA’s Vision Project and chose as my personal project to spend 120 days in my studio for the 2012 – 2013 fiscal year that I am so focused on production in my blog.

Tips, Thoughts and Techniques

I wasn’t the only one in Santa Fe. I discovered my Craftsy.com painting teacher, Annette Kennedy was an attendee as well. She graciously chatted with me on several occasions. I took a seminar lead by Carol Ann Waugh on what is required to become a professional art quilter. Outstanding! Carol is another one of Craftsy.com’s teachers. I love her method of how she finishes her art quilts and plan to use it when appropriate. Carol demos her rattail finishing technique on YouTube.

It is always difficult for me to transition back to a disciplined workweek after an absence from my home. Nevertheless I did ease my way back into my studio. By my fourth day back I was in synch again. Just how much in synch can be determined by reviewing my plans for the week against what was accomplished.

1) Pictorial Painting

a) Continue to watch the portion of the lesson that demos how to paint the Canyon piece. – Done!

b) Finish painting "Canyon." – Done!

This week "Canyon" received some plants and more
definition to the road.


Check out the plants in the desert, particularly their shadows. I have always struggled figuring out how to include shadows in my artwork. These shadows work for me. Yeah!

2) Express Your Love

a) Do whatever assignment LeahDay comes up with next. – Done!

All that is left is the body!
"Express Your Love" is designed by Leah Day and executed by
Gwyned Trefethen, who selected the thread and what stitches
to use where.

Actually I did two assignments. I did one assignment for the week that I was away and then this week’s assignments. Both involved free motion spirals. The first was a combination of spirals and circuit board. The second was simply spirals as a filler. I love free motion quilting spirals. They flow naturally through my muscle memory. However, circuit board does not. So, I found alternating between executing a spiral and then a circuit board awkward.

The circuit board with spirals free motion quilting is
featured in the lower of the two purple ribbons. The
middle turquoise ribbon is done in spirals only.
Click on the image to see an enlarged version.

3) Adoration (Shooting for a deadline of June 1, 2013

a) Cut the backing and batting for Adoration. – Done!
b) Prepare the quilt sandwich. – Not done.
c) Select the quilting threads. – Not done.
d) Start quilting. – Not done.

This is a detail from "Adoration" after I painted in the eyes of my grandson.

I am really, REALLY struggling with this piece.  I made several “rookie” mistakes when assembling the pieces. The orientation lines are visible through the lighter fabric as is the edge of the dark blue background. Actually, I had tried to use lighter orientation lines and use markers that could be washed out, but I just couldn’t see them sufficiently. Once I got the marks dark enough to see to be useful, they are too visible. I am hoping that by adding paint and quilting these problems may resolve or at least be much less obvious.

What I did do is start the painting with my grandson’s eyes. I will add a dab of highlighting to the eyes next week.

4) Bonus project. Signature Experimentation

For years I have struggled with how to sign my artwork. Should I use my full name? First name only? My initials? Some artistic rendering of my initials? What about the date? While wandering one of the galleries in Santa Fe I came upon a signature that I liked that incorporated the artist’s initials and date. I played around some first on paper and finally created this. My addition was to frame the signature as well. I am not totally satisfied, but do feel I am to something.

My first experiment on how to sign my artwork.


There are so many enticing opportunities for me to apply for where my work can be shown. What holds me back now is having enough work submit. Therefore, I am determined to buckle down and create. Here is what I plan on achieving for the week ending May 10, 2013:

1) Pictorial Painting

a) Watch the lesson that demos how to quilt the Canyon piece.

b) Quilt "Canyon."

2) Express Your Love

a) Do whatever assignment Leah Day comes up with next.

3) Adoration (Shooting for a deadline of June 1, 2013

a) Paint the shadows, highlights and fine details necessary to bring the piece to life.

b) Sandwich the quilt.

4) Signature experimentation

a) Design a new signature motif.

5) Plan the next art piece.