Showing posts with label freezer paper. Show all posts

Friday, August 22, 2014

Week in Review 2014 - 08/22


Lola - studio companion

Tips, Thoughts and Techniques:


You may recall Lola, my studio companion. I can always count on her to make sure my fabric doesn't float away. She is a soothing influence as I adapted many techniques gleaned over the years to create a step by step process of piecing Night Vision.

Freezer paper templates after marking the first
leaf to be pieced.


Several weeks ago I shared the various cartoons/blue prints I create in order to have the basic lines and breaks of the piece as well as freezer paper templates. The following week I decided which leaves were on top or under each other, as well as where the light and shadow will fall. At the same time I chose some leaves to have a more blue cast and others to have a more yellow cast. I marked my primary blue print with these choices.

Check out the notches, orientation marks and seam line.
These can be seen whether the fabric is right side or
wrong side up.


This week I began working on the lowest leaf. I broke it into segments by value for piecing. If you click on the image of the freezer paper templates you should see such cryptic notes as B D2. This segment would be part of a  Blue green leaf with a Dark value, but not the darkest. Most fiber artists audition fabric to see how one fabric works next to another. I tend to work more mathematically, thinking of my fabric like musical scales going from light to dark. I have been doing this for years. Rarely do I ever need to replace a fabric because it doesn't work. I still place my work as it progresses on my design wall, just to be certain. 

Organza is used to "darken" a fabric


There are also numerous Xs and single, double and even triple lines along the edge of the segments. These are orientation marks for where seams will intersect - the X's or where seams need to be matched, the lines. This is the same method used by dress makers. I transfer all these marks, first with a chalk pencil and then by cutting notches, when I cut out the segment with a very generous seam allowance. The actual seam line is stitched with water soluble thread. This way I can be completely oriented whether I am working on the right side or wrong side of the fabric.

This is where much of my week was spent, making
yards of piping and bias tubes.


There are several sections of Night Vision where there are gaps between the leaves and things get very, very dark. I don't have, couldn't find and don't want to spend the time dying/painting new fabric, the very dark green that I needed for these few small pieces. My solution? I overlaid a dark gray organza over my darkest green fabric. It is stitched in place with water soluble thread so that it won't shift when the combined fabric is seamed in place.
The first two pieces are ready to be seamed. I position
them on my fabric blue print and design wall. This way
I can verify that value changes are sufficient and
that I have more than enough seam allowance and
"trim" along the outside border of the quilt.

Night Vision is going to use yards and yards and more yards of piping along the leaf edges and bias tubes to create the leaf veins.  I learned how to make bias tubes back when Baltimore Album quilts were revived by Elly Sienkiewicz. The advantage to bias tubes is that they have two turned under edges and the fabric is cut on the bias. This gives a nice finish and the tubes curve without difficulty. Of course Elly would have hand stitched everything down. I would have enjoyed this, but just don't have the time. So, I stitch my tubes in place using my machine's blind stitch. 

I read for respite

It was a full week of steady progress. However, if all you do is look at the design board, or check out my weeks progress report it doesn't look like much. 

1) Night Vision - (Due January 1, 2015)


a) Start the piecing - Done!

OK, technically I still haven't seamed two pieces together, but I have cut out and prepared the first two pieces in preparation for getting seamed together. Close enough according to Lola, my studio supervisor.

2) Free motion quilting practice. 

Not this week. I was too busy catching up from time away and creating bias tubes.


3) LifeBook 2014 - Do the assignments. - Done!

I think my muse is saying, " Go
outside and play."

I had two assignments to do this week, since I was away from studio the week before and needed to play catch up. Play is the operative word since both assignments focused on play and respite. The first was to create a mixed media piece that showcased what you turned to daily to relax with. I realized that for me that is reading. I always have at least two books going at a time. One sits on my night stand for bedtime reading. The other is an audio book that I listen to while I work in my studio, do the laundry, get dressed, open and close up the house or basically any task that I can do as I listen. 

The second assignment was literally just to tap into your inner child by playing. Students were encouraged to use new tools to apply the paint, squeeze the paint directly on the page and try things you wouldn't ordinarily do. For example, I only colored in some of the petals on the page to see how that would look.


Hopefully, now that I am caught up and have a generous supply of bias tubes at the ready my progress will be more visible next week. My goals remain much the same.

1) Night Vision - (Due January 1, 2015)

a) Continue the piecing

2) Free motion quilting practice.

3) LifeBook 2014 - Do the assignments.


I am now linking up to two blogs on Fridays. The first is Nina Marie's Off the Wall Fridays and the second is Free Motion Mavericks.

Friday, August 1, 2014

Week in Review 2014 - 08/01


Reference photos, sketches and tracings
currently on my design wall as I make Night Vision.
Tips, Thoughts and Techniques:

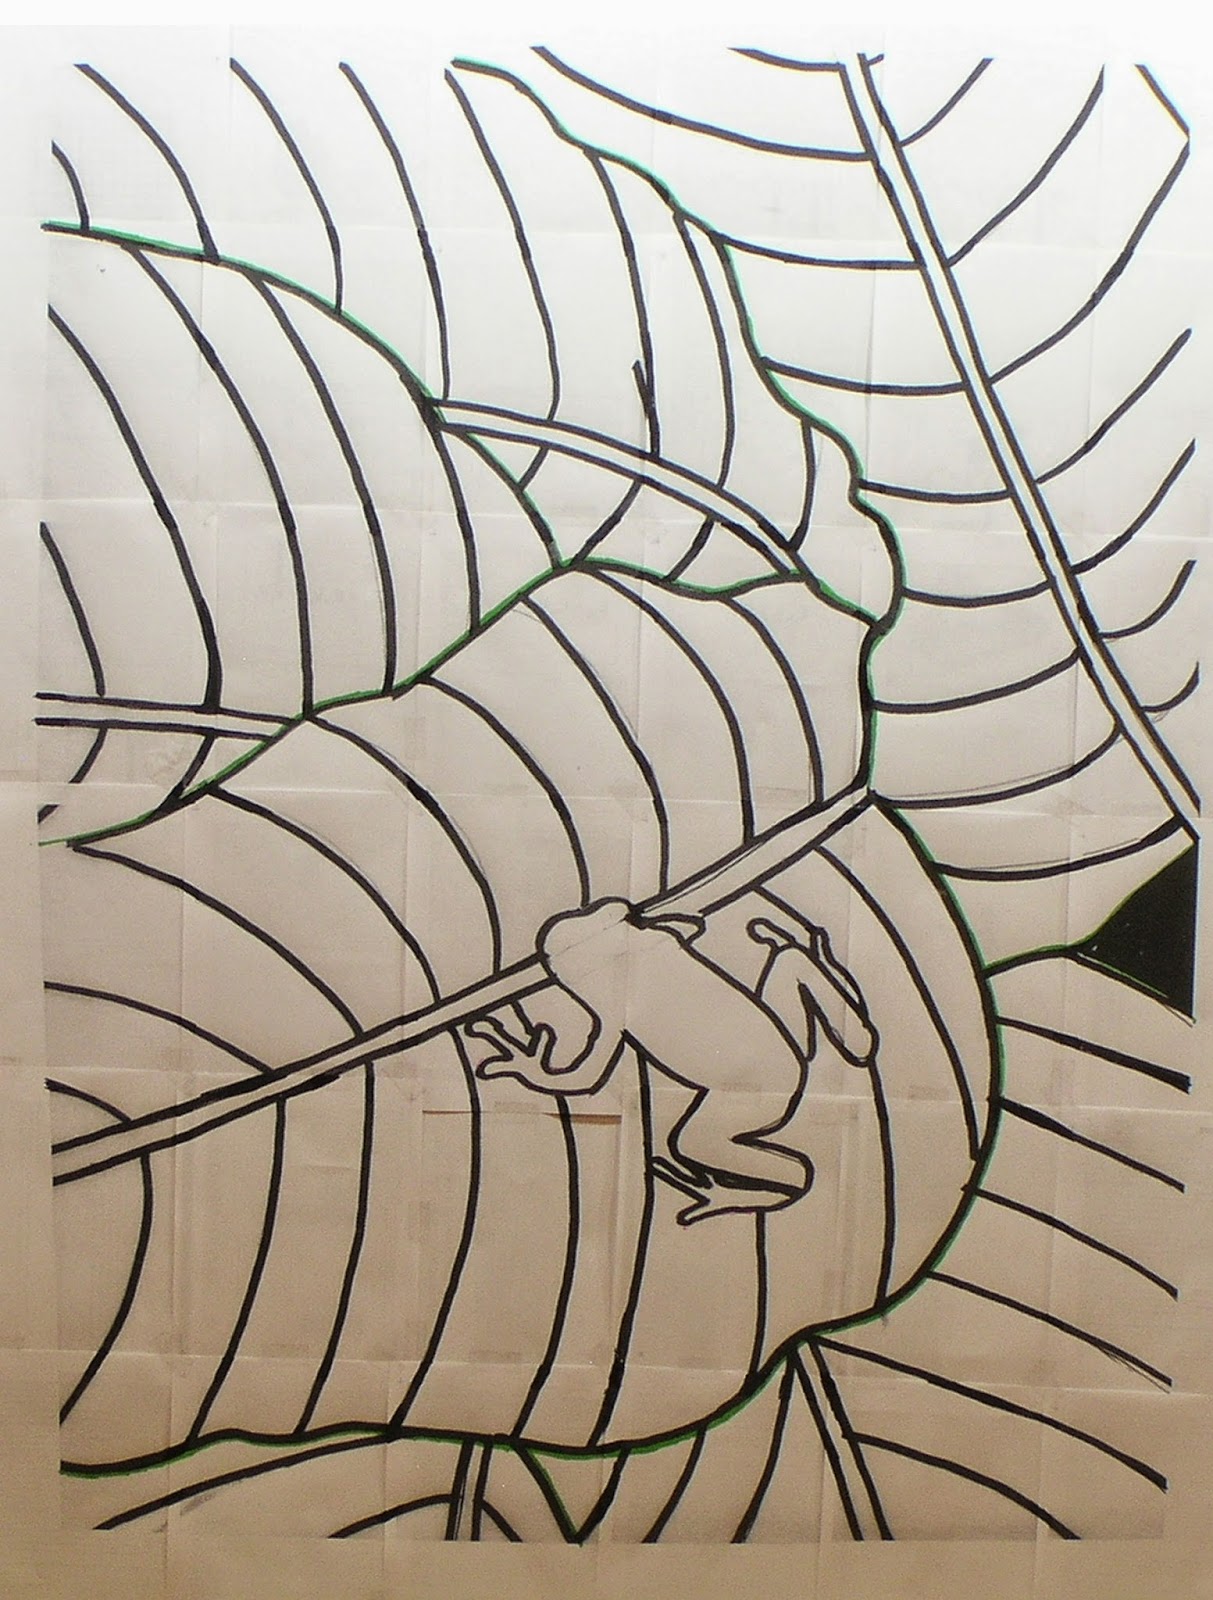
Before I start assembling a new work I create the foundation. In this case I am using the architectural meaning of a foundation, that aspect of the work upon which the remainder of the work will rest. For me, the foundation of a quilt is composed of strong lines and a focal point. I am easily tempted to rush the early stages and start piecing the work without a reasonably clear vision of how to best assemble the work. In the case of Night Vision there are many different ways to piece it. For instance I could use raw edge appliqué, turned appliqué secured by machine or hand turned and sewn. I could use large swaths of fabric for each leaf, piece each leaf segment by segment or even breakdown each leaf segment in multiple pieces. 
The .pdf of the 9" x 12" drawing has
been blown up to a scale of
approximately 36" x 48"
Close up of the to scale drawing showing the overlaps
and joining required.


One of the advantages of tracing and retracing the lines of Night Vision, is that I get to study it slowly and conscientiously and even subconscientiously as my mind drifts during the repetitive process. The more I worked with the lines, the more ideas of what I could do to build on the foundation occurred to me. I even have a few experimental ideas to play with. I can't wait. This is the time when I am most in love with my work, when it is full of possibilities and promise and I haven't started to tear my hair out coping with the consequences of my genius. :)  

The scaled drawing is then traced to muslin
and a reverse copy is traced to freezer paper.
The freezer paper image will be used to
create templates for the piecing.
This week was about laying the foundation for a new work and building on the skills of foundations laid down weeks and even years ago. It was a week full of creative energy!

 1) Wild Apple 12" x 12" Opportunity - (Due August 15) - Done!

a) Mat and frame the work.
Now it is time to select the fabric
for the leaves. Yummy! 


2) Night Vision - (Due January 1, 2015)

a) Finish the line drawing - Done!
b) Print out the line drawing to scale!
c) Bonus - marked the line drawing on muslin and in reverse on freezer paper!
d) Start the piecing - Not yet.
The fabric is a preprinted panel
designed by Leah Day, available
through Spoonflower. It makes
for a great practice sandwich.
I tested out my Flower Power
FMQ motif in the pink tresses.

3) Free motion quilting practice. - Done!

A close up of Flower Power

There are signs that our flower gardens are beginning to fade. So, it is no surprise that I found myself desperate to cling to flowers, hence the Flower Power FMQ design I devised this week. It begins with a simple six petal daisy that I echoed three times before stippling around the flower to allow it stand out and then starting the next flower.

4) LifeBook 2014 - Do the assignments. - Done!

This week's mixed media lesson
taught how to add traced images
to a background. The drawings are NOT
my original design, but the placement
of the drawings and background
are all mine.
Often our final lesson of the month is earmarked as a bonus lesson and therefore assumed to take less time than one of the "main" lessons. In fact it may just be to watch a video interview with one of the artists. Not so this week. Our teacher had a technical glitch creating the second video for the lesson, so that the work demonstrated in video part one didn't match up with the work that was finished and completed in video part two. Life happens. Once I got over my personal confusion I looked at this as a learning opportunity. It was up to me to make the bridge from one video to another. I doubt I would have had the confidence to do this with mixed media back in January, but was delightfully surprised to discover that I can now problem solve my way through a mixed media work on my own.

My hope is to build on this confidence and momentum next week. I think I can. I think can. I know I can, to build on The Little Engine that Could. This is my plan for next week.

1) Night Vision - (Due January 1, 2015)
a) Start the piecing

2) Free motion quilting practice.

3) LifeBook 2014 - Do the assignments.


I am now linking up to two blogs on Fridays. The first is Nina Marie's Off the Wall Fridays and the second is Free Motion Mavericks.

Wednesday, July 18, 2012

Quilting Along with Leah Day - Week 22

Hibiscus Haven
21" H x 24" W

While Leah Day took some much deserved time to focus on her work, I created Hibiscus Haven. Week 22's assignment was the just the impetus I needed to finish Hibiscus Haven by adding the label.

Back Side of Hibiscus Haven

I create all my quilt labels on my ink jet printer. I use pre cut cotton sheets that are backed with a release paper. This way the fabric feeds easily through the printer. It also means that I can have a reasonably small label and still fit everything in that needs to be there for exhibiting my work. 

Mini digression...

Note how the hanging sleeve at the top of the quilt is actually two sleeves with a gap in the middle. This allows a slat to be slipped through the sleeve. Eye screws are added at either side of the slat. Then when the quilt arrives at a gallery it can be hung with nails through the eye screws, with filament line through the eye screws or by stringing picture hanging wire across the slat. The wire would be held in place with thumbtacks where the slat is visible between sleeves. Then the quilt can be mounted to the wall, just like a picture.

Back on Topic...

Close Up of Label for Hibiscus Haven

I follow the same format for labeling all my exhibition quilts. I always put an image of the quilt on the left hand side of the label. The right hand side I start with the title, in italics in a color that is taken from the quilt. Next goes my contact info. I have "erased" this from the image for security purposes. Finally, I put the size of the quilt and the date it was completed.

In the past I would have trimmed the label to size, folded under a hem, pressed the hem, ironed it flat and then sewn the label on the quilt. The point of Week 22 was to starch the hem and fold it over a freezer paper template. Must say I loved how crisp the starch made the edges. I also tried to keep my ladder stitching to the size of seed beads. 

This method worked well for a simple rectangular label. But would it stand up to an odd shape?

Label for Marvels of the Deep

Absolutely! The Marvels of the Deep label is still attached to its freezer paper template. I will be bringing it with me when I go visit the quilt's owner, my granddaughter and sew it on then. Don't you think it is perfect for her quilt?

Marvels of the Deep

Marvels of the Deep is based on Fantasy Fish created by LAM designs. It isn't an actual pattern. It is a collection of shapes that can be appliquéd to a background of your choosing.