Showing posts with label hibiscus. Show all posts

Wednesday, July 18, 2012

Quilting Along with Leah Day - Week 22

Hibiscus Haven
21" H x 24" W

While Leah Day took some much deserved time to focus on her work, I created Hibiscus Haven. Week 22's assignment was the just the impetus I needed to finish Hibiscus Haven by adding the label.

Back Side of Hibiscus Haven

I create all my quilt labels on my ink jet printer. I use pre cut cotton sheets that are backed with a release paper. This way the fabric feeds easily through the printer. It also means that I can have a reasonably small label and still fit everything in that needs to be there for exhibiting my work. 

Mini digression...

Note how the hanging sleeve at the top of the quilt is actually two sleeves with a gap in the middle. This allows a slat to be slipped through the sleeve. Eye screws are added at either side of the slat. Then when the quilt arrives at a gallery it can be hung with nails through the eye screws, with filament line through the eye screws or by stringing picture hanging wire across the slat. The wire would be held in place with thumbtacks where the slat is visible between sleeves. Then the quilt can be mounted to the wall, just like a picture.

Back on Topic...

Close Up of Label for Hibiscus Haven

I follow the same format for labeling all my exhibition quilts. I always put an image of the quilt on the left hand side of the label. The right hand side I start with the title, in italics in a color that is taken from the quilt. Next goes my contact info. I have "erased" this from the image for security purposes. Finally, I put the size of the quilt and the date it was completed.

In the past I would have trimmed the label to size, folded under a hem, pressed the hem, ironed it flat and then sewn the label on the quilt. The point of Week 22 was to starch the hem and fold it over a freezer paper template. Must say I loved how crisp the starch made the edges. I also tried to keep my ladder stitching to the size of seed beads. 

This method worked well for a simple rectangular label. But would it stand up to an odd shape?

Label for Marvels of the Deep

Absolutely! The Marvels of the Deep label is still attached to its freezer paper template. I will be bringing it with me when I go visit the quilt's owner, my granddaughter and sew it on then. Don't you think it is perfect for her quilt?

Marvels of the Deep

Marvels of the Deep is based on Fantasy Fish created by LAM designs. It isn't an actual pattern. It is a collection of shapes that can be appliquéd to a background of your choosing.


Tuesday, June 5, 2012

Hibiscus Haven is Done!

My Motivation
Persistence, faith and gumption is what it takes me to go from idea to completion of an artwork. When I start a new work it seems brilliant. That is the hook that motivates me to begin.  Somewhere in the middle a combination of panic and drudgery take over. The panic is due to whether I will be able to pull off a successful composition. The drudgery comes from the shear repetition of piecing and stitching that is a natural process of making the fiber art that speaks to me. Once I consider a work finished, as I do with Hibiscus Haven, my confidence, that dipped in the middle returns. There is the shear relief of completing the piece from beginning to end. There is also the sense, that yes, this will do. I have another work to add to my website and hang in galleries.

Hibiscus Haven is Done!


Detail Showing Floating Leaves and Binding Finish
Hibiscus Haven is my own design. However, Leah Day's genius in coming up with 365 different free motion quilting designs needs to be mentioned here. Her designs are my bible when selecting a motif to quilt into the background. I used her Floating Leaf pattern in Hibiscus Haven. Prior to Quilting Along with Leah, I probably would have done a small scale version of the design. However, now I am able to modify the scale of my free motion quilting, I chose to do this at a medium scale. I wanted the scale of the quilted leaves to match the appliquéd leaves. Another nod to Leah, is that I have always created bias binding and hand stitched it down on the backside of the quilt. Since, I had used the button hole stitch with the appliquéd leaves and hibiscus, I opted to use the button hole stitch to secure the binding to the front of the quilt, a method that Leah endorses.

Wednesday, May 23, 2012

My Current WIP

Last week I focused on flowers and how they have a way of appearing in my work. So it should come as no surprise that my current WIP (Work In Progress) is based on my new hibiscus plant.


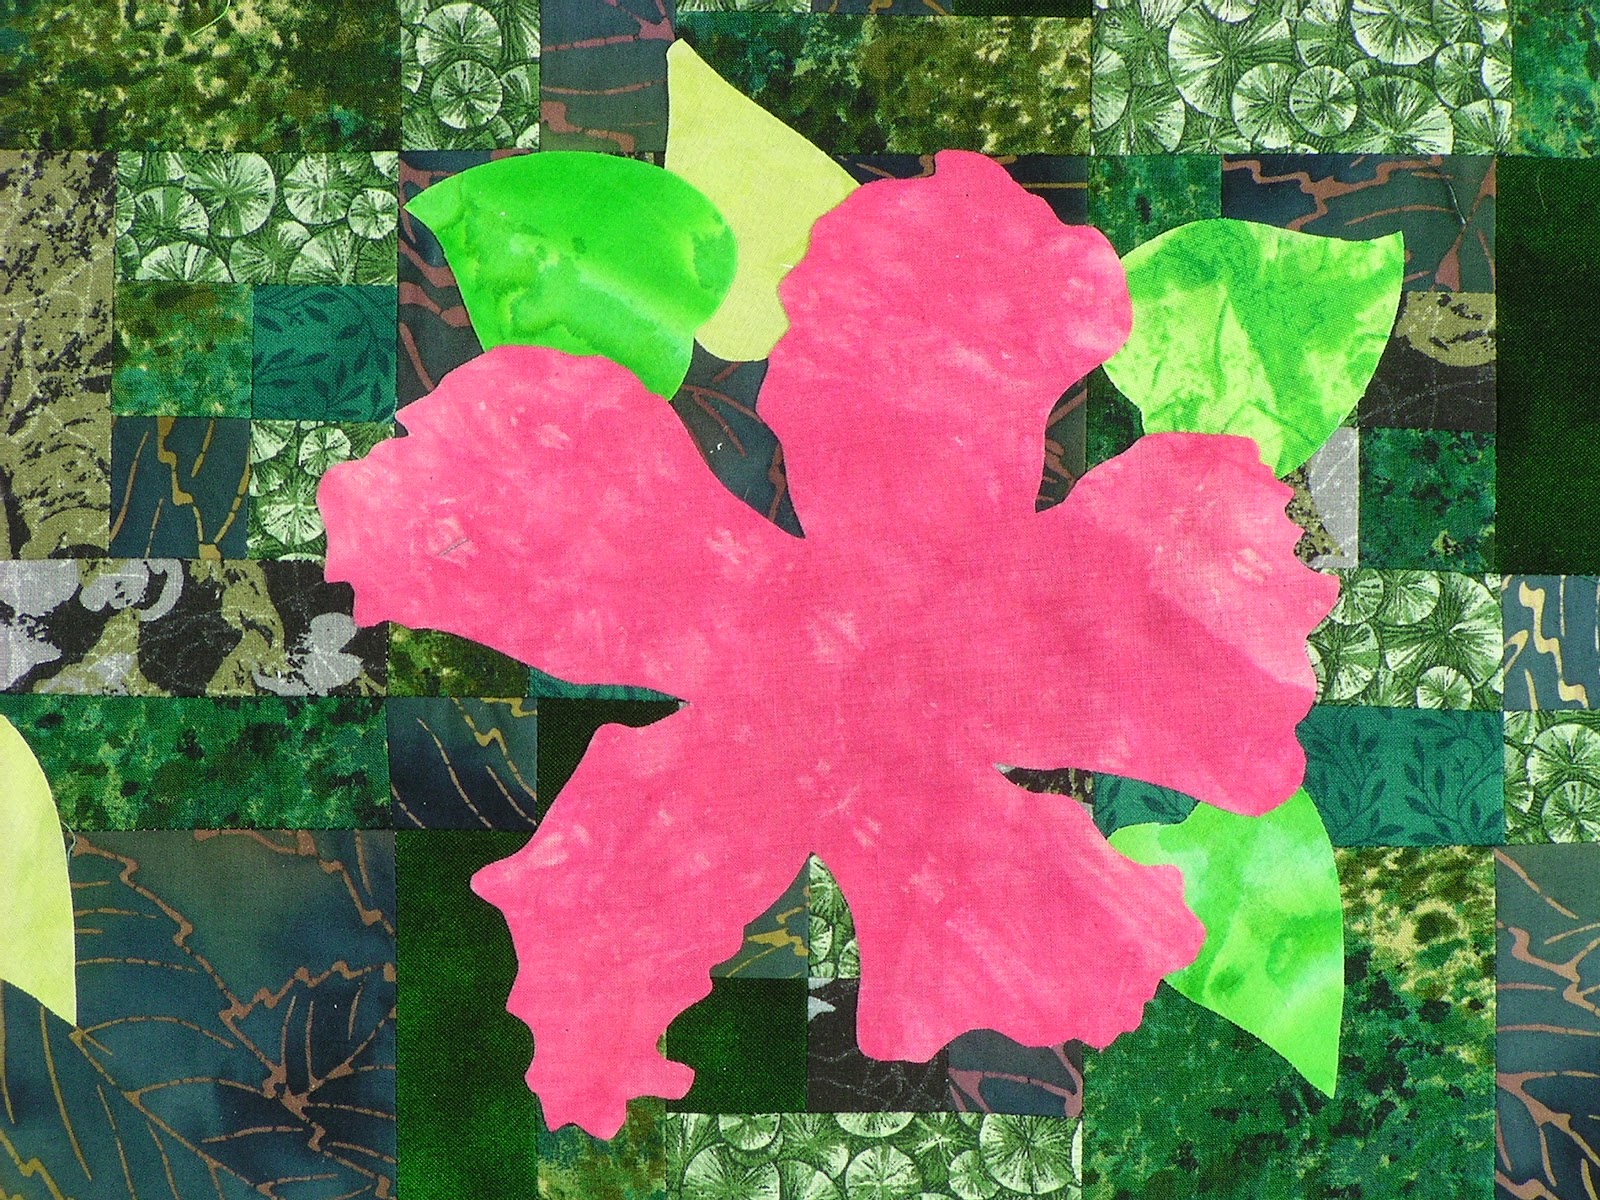
I could have recreated the picture or a detail from the picture, but I prefer to give a sense of the image - an artist's impression. I am naturally drawn to value changes, light and shadow as well as positive and negative space. My first step was to select green fabrics from my collection to use as a background and for the leaves. Next I hunted through my hand dyes to find a coral/pink fabric with sufficient contrast to show up against the greens. 


I used my photo to trace the shape of the hibiscus flower, but opted to draw my leaves free hand. Although I've been making art quilts for over a decade, I still love the process and appearance of pieced blocks. So, that is what I did for the background. What gives them the artistic flair and makes it hard to distinguish the blocks is how I randomly piece the fabric, busting through the concept of using dark fabrics consistently in one section of the block and light in others.


The next step is to add thread. I will quilt the background and enhance the hibiscus and leaves with thread painting. The final step will be to add french knots at the end of my thread painted stamens. 


Sunday, May 13, 2012

Mother's Day


12.5" x 15"

Fuchsia
4" x 6"
One of the stories my mother loved to share about me is that when I was a very young child, perhaps three or four years old, I was asked when my birthday was. I told the inquirer that it was “when the flowers come out in the spring.” My birthday was this past week and it remains entwined with flowers and Mother’s Day. Every seven years or so my birthday and Mother’s Day are one and the same.


Whether I am tending to our gardens, enjoying a nature walk, letting someone know I care or designing a quilt, flowers are often the focus. I find myself returning to flowers again and again in my work. I even did a series of petite quilts, each 4” x 6”, titled Branching Out and many of those pieces were of flowering branches.

My New Hibiscus Plant!
This weekend I did what I love to do on my combination birthday and Mother’s Day weekend, I went to the local nursery and selected flowers to fill in the gaps of my perennial gardens and plant in containers located our deck and atrium, I even treated myself to a stunning tropical hibiscus resplendent with blooms and buds.