Friday, July 27, 2018

Week in Review 2017 - 07/27


I made row 5 for Cohasset Sunrise this week.
What I love about making work in my Shifting Value series is the naturally occurring
contrasting values with the more subtle blending. It creates a wonderful dappled light.
Tips, Thoughts and Techniques:

I've been pondering color recently. OK, I've been obsessively pondering color. Why? Because we are just over a month from renovating our new home and this requires color decisions. Every time I look up at the main ceiling of our home, I smile. It never, ever would have occurred to me to paint it  purple, especially above rich, creamy walls, but that is what the original owners of the home opted for. They had a great sense of whimsy when it came decorating choices. Often their choices can feel like a big mishmash of ideas. My goal is to reduce the chaos, tone things down a bit, but not loose the fun, unexpected factor that drew me to the home in the first place.

An individual row can feel chaotic,
but when the rows are laid out one
on top of each other, there is a cohesiveness.

Renovations are constrained by budgets. This helps with the decision of what to let go and what to keep. For example, the granite counter top and tiles they chose for the kitchen wouldn't even make my top ten list. Since it is an open floor plan, the kitchen is very much on view. It will stay as is. However, I can repaint the walls, and maybe even the built in cabinet. I'm determined not to play it safe and paint everything cream. What to do instead has proven to be far more difficult than I thought it would be. We have a poster board painted with the two most likely contenders for the accent wall. I keep flipping it to one side, a subtle pale blue/purple and back to the other side, the same rich purple of the ceiling. I place the board in one spot, then in another. What works here, doesn't work there and vice versa. These are the two colors from our master suite, so I can see how they work together. Still no decision.

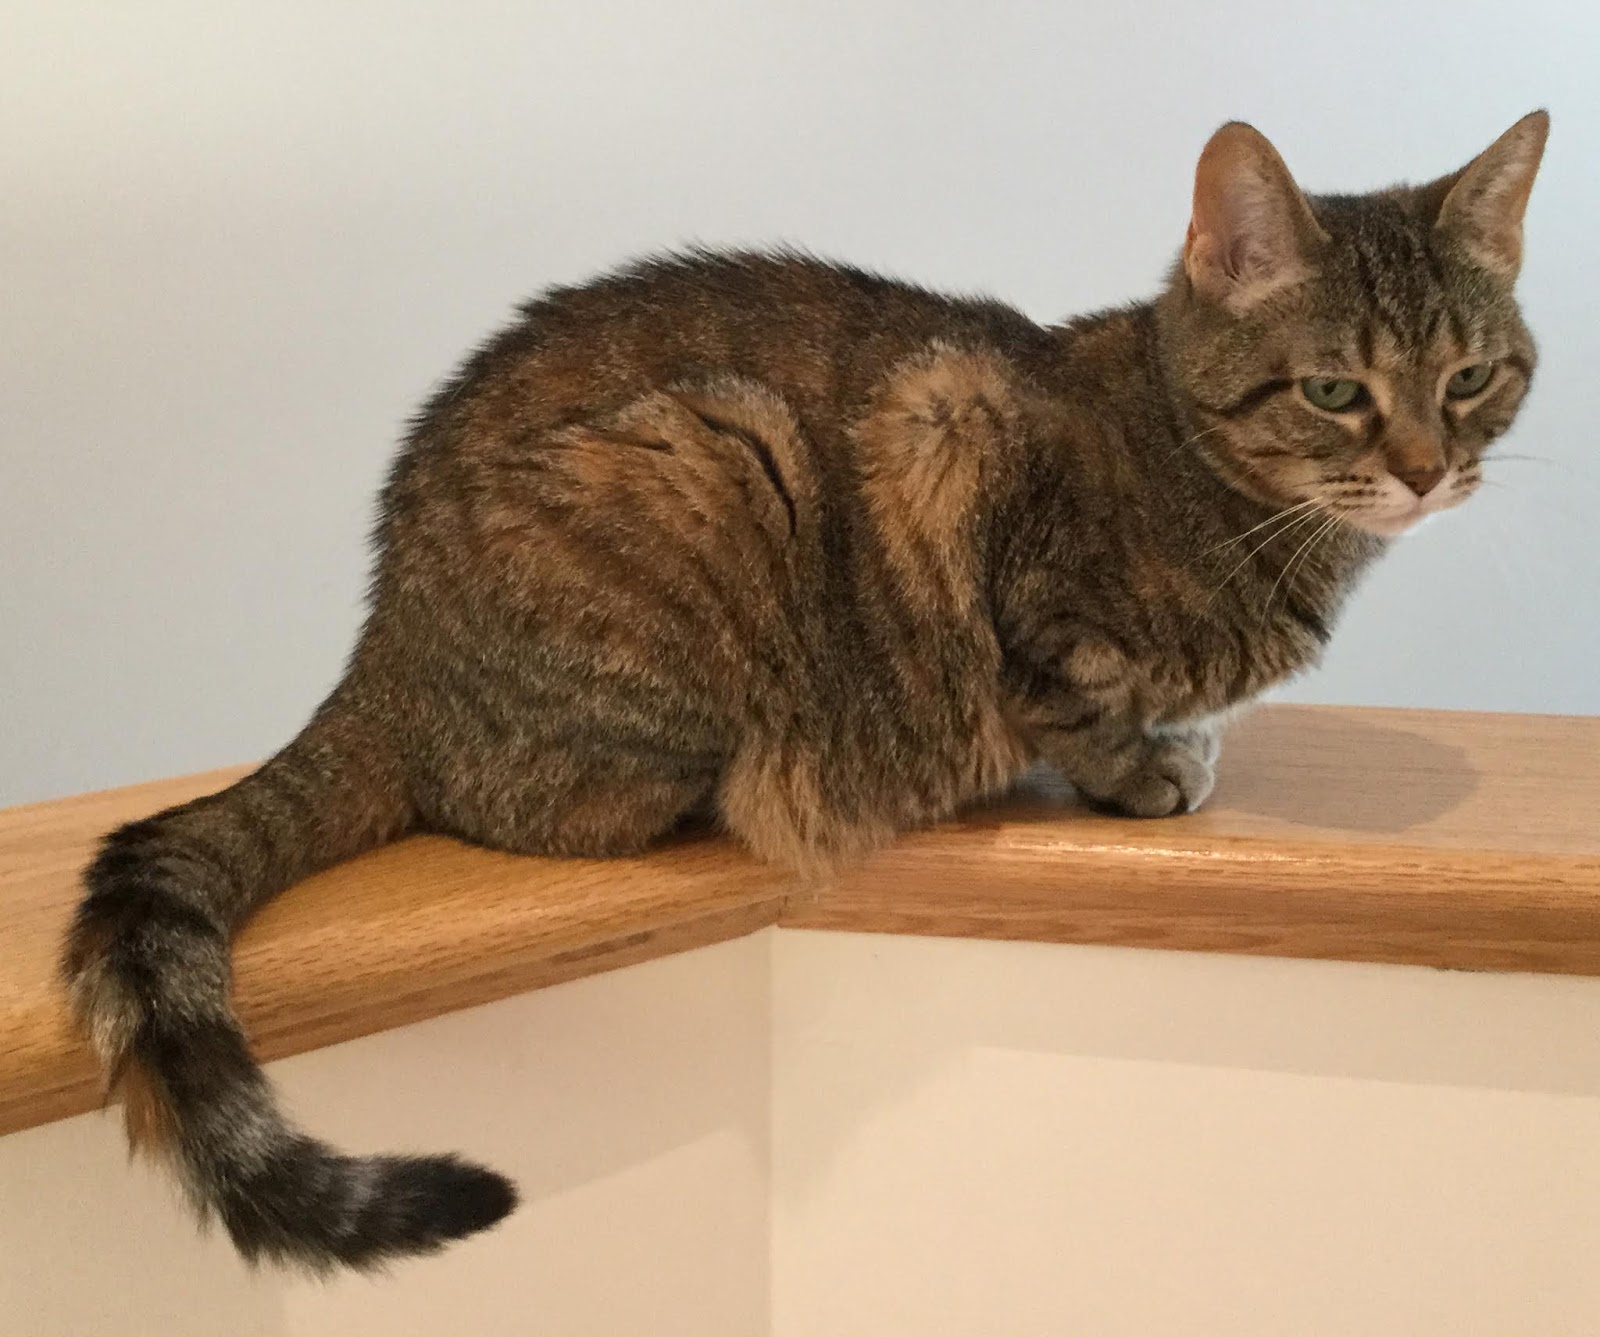
This is the view standing by my Bernina.
Note how the individual pieces are laid
out in units by value. Lola is making sure
they all stay in position. Look up and you
can see the purple ceiling. 
What surprises me, is that I can select a palette for my artwork with only a few shuffles and substitutions. If I get part way through the work, run out of a crucial fabric, I only have to turn to my stash and I find something new to add to the mix. This is precisely what I have been doing with Cohasset Sunrise. So, why is it so difficult to choose paint for our home?

I am linking up with Nina Marie's Off the Wall Fridays

Friday, July 20, 2018

Week in Review 2018 - 07/20


Tips, Thoughts and Techniques:

4 out of the 7 rows are pieced 

It is easy to loose focus on how fortunate I am to be able to do something that brings me great joy and serenity. Why am I drawn to creating variations of water, sky, and sun? Perhaps for the same reason as I work with fabric and thread. Both give me time to catch my breath, relax and just be. There is no hurry to get done. My work will get completed and the sun will rise and then set. I am reassured by repetition and have learned to appreciate the variations on a theme.

All 4 sun quadrants are pieced!

I am linking up with Nina Marie's Off the Wall Fridays

Friday, July 13, 2018

Week in Review 2018 - 07/13


Tips, Thoughts and Techniques:

Paraskevidekatriaphobia is fear of Friday the 13th, not be confused with triskaidekaphobia which is fear of the number 13. I've written a fair amount about fear over the years I've been writing this blog. Why? Because it is a topic intimately entwined with creating art. There is fear of failure. Just as paralyzing is fear of success. Thank goodness Friday the 13th and the number 13 don't phase me. I have enough fear to cope with simply walking into my studio and facing whatever challenge I've purposefully, or inadvertently created for myself.

Work on Cohasset Sunrise continues

I've been secretly trying to screw up my courage to start a regular practice of focused experimentation. I've watched with envy as other artists join the slow stitch movement, made a daily leaf, or create a variety of suns. Some how I just couldn't find the right project or incentive to get started. Then I saw it, the Monthly Art Project (MAP) facilitated by none other than Brenda Gael Smith. This had appeal. It took months of should I or shouldn't I join. I've done it now. I committed to completing a MAP. 

July's MAP 
Each MAP is unique, but it must be defined. I have decided to use something from my extensive studio supplies I have either never used or haven't used in over a year. Since this is my project I am interpreting this quite liberally. This month I pulled out Fantastic Fabric Folding  by Rebecca Wat. It must be close to a decade since I last attempted to make a flower from this book. I selected a flower I had never made before, a fairly simple rose. I succeeded, but was disappointed. It was too flat. However, the mere act of making the rose got me thinking about whether it would be possible to make 3D flowers following origami instructions. I found instructions for making a water lily on-line. I love it. I have a few kinks to work out and I am far to excited to let fear get in my way. 

Lola has no fear of the number 13.


Lola, my studio cat, is fearless. My studio is a loft that looks over the foyer of our home. One of her favorite spots is on the railing surrounding my studio, 13 feet above the floor below, where she can keep an eye on me, my husband's office just off the foyer, and of course the front door, should we have visitors.

I am linking up with Nina Marie's Off the Wall Fridays

Friday, July 6, 2018

Week in Review 2018 - 07/06

Tips, Thoughts and Techniques:

Last week I was bemoaning the fact I had a created a design which required precision curved piecing. Over the 30 years I have been making quilts I have tried many different ways to cope with curved design elements. None suit me perfectly, which is probably why I keep trying different methods and different combinations of methods hoping for one that feels right. Since the method I used this week works best for me, I thought I would share it here.

1. Create templates for each piece in the pattern from freezer paper. The template should include a 1/4" seam allowance.

2. Iron the templates to the RIGHT side of the appropriate fabric. This insures that you aren't dealing with the mirror image of the pattern.

3. Cut the fabric exactly around the template. 

4. Using a thread that matches the fabric stitch along the 1/4" seam allowance. I set my stitch length to the same length I would use for paper piecing. You want many stitches to the inch.

5. Using a water soluble glue stick add glue to the BACK side of the fabric along the seam allowance of any seam to be turned under. You are preparing the fabric for appliqué. So, wherever two curved pieces of fabric abut, one is turned under and laid on top of the other. It helps if the seam allowance of the fabric to be turned under has been clipped. This must be done before the glue is added.

6. Turn the seam allowance under using the stitched seam line as your guide. 


The seam allowance has been turned under
and the fabric positioned. It is now ready for
machine appliqué.   

7. Run another line of glue along the turned under seam allowance. This will hold the fabric in place while you stitch.

8. Position your fabrics using the lower fabric's stitched seam allowance as your guide for placement.

After machine appliqué is added.

9. Select the blind hem stitch on your machine. This is the one that looks like ....^....^. Make sure the "...." portion is as close to the seam allowance as possible, but stitches only on the lower fabric. The "^", or as I think of it as the bite, reaches out and anchors the top fabric. Once again, I use a very tiny stitch length. This ensures that many bites get taken and the fabric pieces are securely held together. 


Now it is ready to be added to the design wall. 

What I love about this method is the precision. What I struggle with is that close up it can be detected. Also, to get the precision I want, there are many prep steps. Sometimes it is just best to say "close enough" and move on. The reality is once the whole artwork has been made, especially once the quilting has been added, nobody but me (and now you) will notice the machine appliqué.

 I am linking up with Nina Marie's Off the Wall Fridays