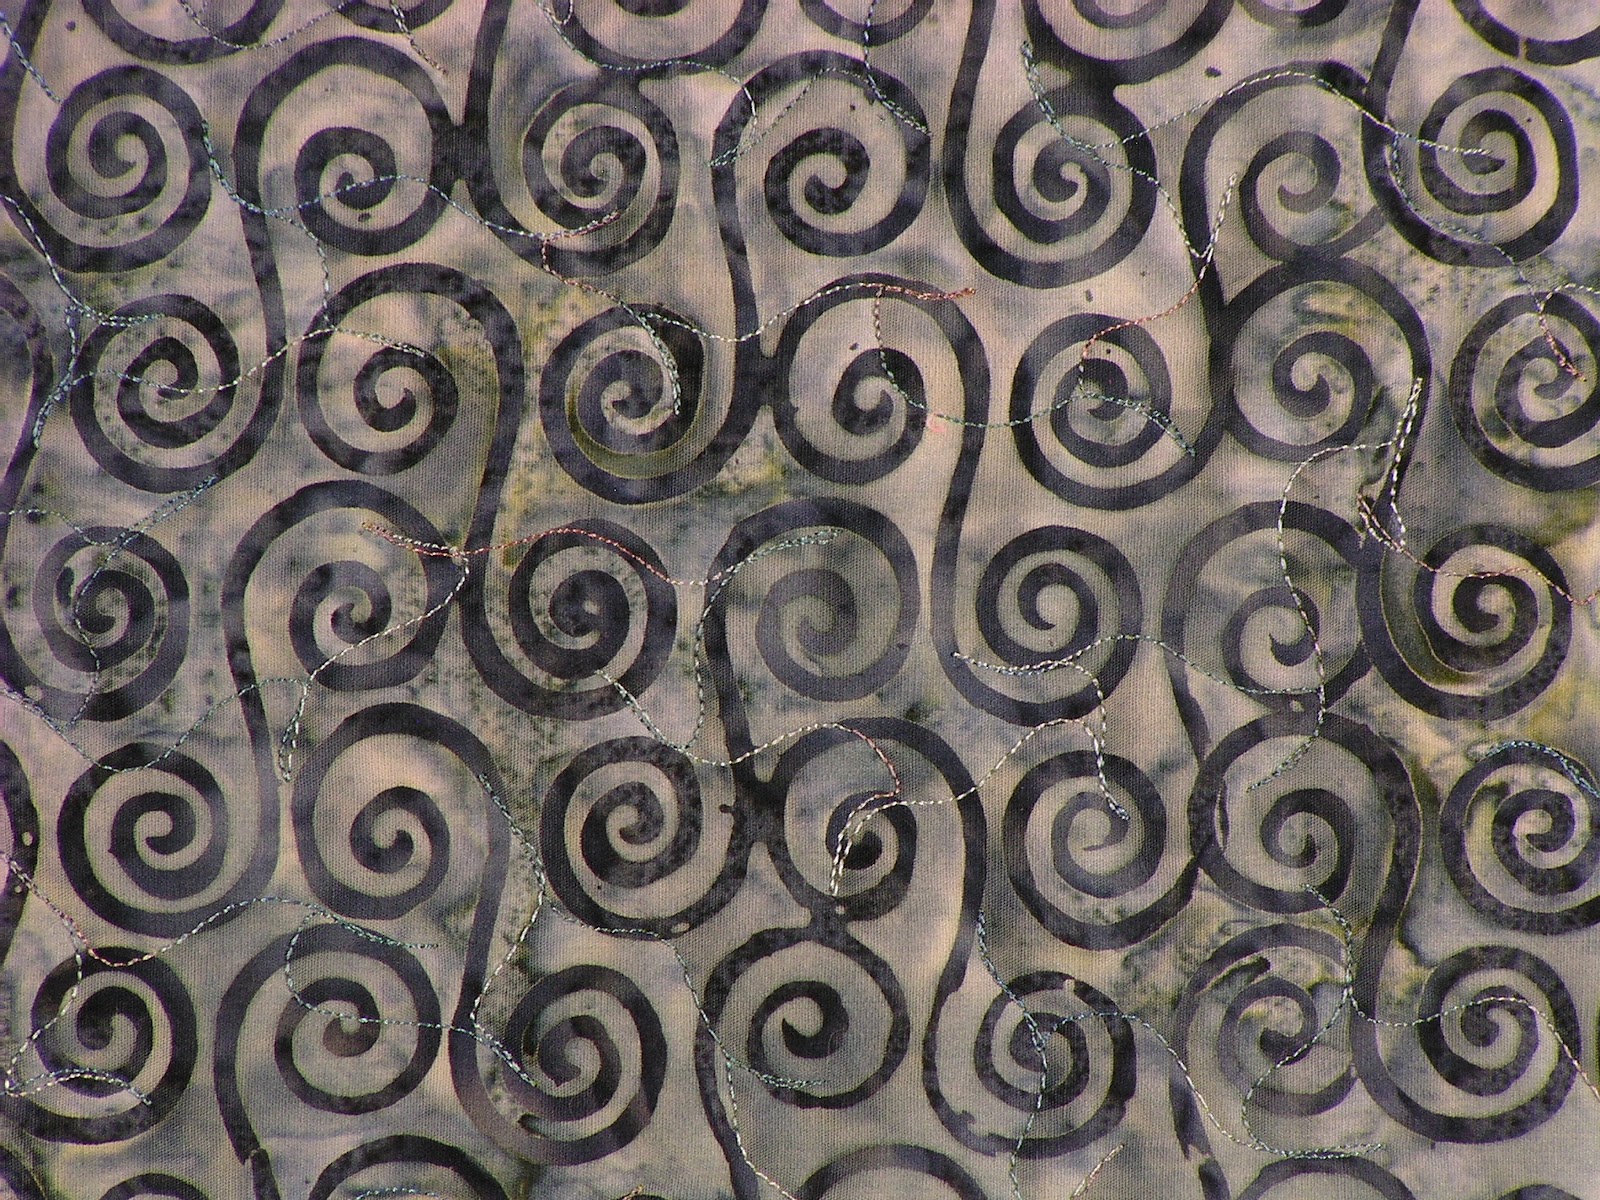
Showing posts with label travel stitching. Show all posts

Friday, June 14, 2013

Week in Review 2013 - 06/14


"Tree Serenade" - 48" H x 40" W
I am a member of Studio Art Quilt Associates (SAQA,) an international organization whose mission is to bring attention to art quilts as an art medium. This mission has helped shaped my own mission in recent years. I still enter calls for entry for art quilt shows, but now I am just as likely to enter calls for art, when fiber is listed amongst the accepted categories or is not specifically excluded. That is why I chose to the enter the “Michigan Fine Arts Competition” held at the Birmingham Bloomfield Art Center in Birmingham, MI. My piece, “Tree Serenade” made from recycled practice pieces I made while doing Leah Day’s 2012 assignments, will be in the exhibition. If you will be in the area between June 28 and August 23, 2013, please drop by and then share your experience with me.

I managed to complete both of the major non-studio obligations I referred to last week and still find time to make it into my studio for 2.5 days this week. Here are my studio accomplishments.

1) Adoration – Done!

a) Attach the label – Done!

b) Add to my website – Done! Adoration is now on the opening page of my website. If you click the image you will go directly to Adoration’s page.

2) “Oyster Shards” (deadline 8/20/2013)

a) Create the oyster shell template – Done!

These oyster shells were made off quilt to be appliquéd on later.
They range from 8" - 12" long and 4" - 6" wide. 

b) Make an oyster shell to be appliqued to the background. – Done! I made three!!! However, I am thinking of tweaking them just a tad more to add blue/purple rings of concentric ridges in the pearlescent portion. I will be testing several thread options to see what looks best.

A closer look at one of the oyster shells.  The pearlescent center
is created by layering the same tulle used in the sea foam from last
week, but only a single layer. The rims were fused in place with
Steam a Seam. This held the tulle in place during the quilting process.
Once they were quilted I cut them out so that they can be appliquéd to the quilt.

3) Leah Day

a) Express Your Love

         i) Cut facing strips. – Done!
         ii) Stitch facing strips to the quilt. – Done!
         iii) Hand stitch the facing in place. – Begun.
         iv) Attach the label. – Pinned in place.

b) Do whatever assignment Leah comes up with next. – Done!


"Foundation Puzzle" using a thread of variegated peacock colors.
Leah does this by spiraling from the outside in and then travel
stitching her way back out along the spiral. I prefer to leave a
wider channel when I spiral in and use the channel to spiral back
out again.
c) Bonus Project – I finished my sampler from last week using Carol Ann Waugh’s rattail finishing technique. This is a fast and effective way to finish a quilt, especially smaller pieces. Carol Ann Waugh, like Leah Day, is a Craftsy.com teacher.

Doesn't the rattail finishing technique work well on this piece?
4) Signature experimentation – Not this week.

a) Design a new signature motif.

5) Pictorial Painting – Not this week.

a) Watch the lesson that demos how to quilt the Canyon piece.

b) Quilt "Canyon."

Here is where I plan to focus my energy next week:

1) “Oyster Shards” (deadline 8/20/2013)

a) Find a way to add concentric, believable ridges to the pearlescent portion of the oyster shells. Possibilities include various threads and paint.

b) Create a quilt sandwich with the pieced background fabric, batting and backing.

c) Baste the sandwich.

d) Add the oyster shells.

2) Leah Day

a) Express Your Love

      i) Hand stitch the facing in place.
     ii) Attach the label.

b) Do whatever assignment Leah comes up with next.

3) Signature experimentation

a) Design a new signature motif.

4) Pictorial Painting

a) Watch the lesson that demos how to quilt the Canyon piece.

b) Quilt "Canyon."

I am now linking up to two blogs on Friday's. The first is Leah Day's Free Motion Quilting Project and the second is Nina Marie's Off the Wall Fridays.


Friday, September 28, 2012

Quilt Along with Leah Day - Week 33


Pointy Paisley (Pivoting Triangles)
It's a miracle. Not only did I manage to finish Leah's assignment for Week 33 just one day after it was posted, I also am writing my post about it the following day. Normally it takes me four days from Leah's posting to get my assignment done and publish my own piece. It feels quite good to be so far ahead of schedule. Perhaps I am getting faster with practice. I suspect it is because I have an incentive. I am using many of the recent practice pieces, including this one, in the background of the current art quilt I am working.

Detail from Pointy Paisley (Pivoting Triangles)
It can be difficult to see the stitches on my full view pieces. That is why I always include a close up. However, if you click on any image on the page, you are able to scroll through the images at their actual size (versus blog size) and the stitches are easier to spot.

Backside of Pointy Paisley (Pivoting Triangles)

Leah refers to this week's pattern as Pointy Paisley, but I prefer to think of it as Pivoting Triangles. The idea is to start with a triangle, echo it a few times and then pivot off in a new direction and create the next triangle. The big difference between this pattern and the others in the Paisley family cluster is that the lines are straight.

Detail of Backside of Pointy Paisley (Pivoting Triangles)

I had to do a bit more travel stitching with this pattern, as well as "filler" spaces. You can see this clearly on the backside of the piece. Those aren't hesitation beads at the points, they are thread building up by returning to the same point over and over again.

When I first saw Pointy Paisley, it didn't grab me as a pattern. However, once I finished my practice panel it had grown on me.

Monday, September 17, 2012

Quilting Along with Leah Day - Week 31


Front Side of Lava Paisley


Is this gorgeous fabric, or what? I just love vegetation, batiks and chartreuse, so couldn't resist buying this gem when I say it. I used a variegated King Tut thread of a similar color way that blended beautifully with the fabric but makes it very difficult to pick out the quilting on the front side. The downside is that I occasionally crossed over a stitch line because I just didn't see it. The upside is that if you don't know where the crossovers are you can't find them.


Backside of Lava Paisley


This is the second in Leah Day's series based on echoing and pivoting paisleys. She titled this Lava Paisley, her husband had another, much funnier name and I have christened it Wiggling Paisley. I'm not sure whether it was executing Pivoting Paisley or allowing the paisley to develop from a wiggling tear, but I found this much easier to stitch than last week's exercise. I also prefer the overall look.

The Detail Allows You to See the Stitching


Although Leah suggests that there is a fair amount of traveling stitching with this pattern, I actually found the travel stitching minimal. It is most noticeable on the back side.


Back Side Detail Shows Some Travel Stitching
and Filler Work


Sunday, September 9, 2012

Quilting Along with Leah Day - Week 30

Good-bye stippling. Hello paisley patterns. Our first assignment in the pivoting paisley family could be described as echoing a tear drop. I am used to paisleys looking more like either Yin or Yang. This pattern doesn't curl or have a tail.


Full View of Pivoting Paisley - Mid Scale

Working on a new to me pattern is a humbling experience. This was particularly difficult because I opted to follow Leah's lead and try to execute the pattern in a larger scale than my usual small scale style. I did fine with the inner tears but when I tried to echo them 1/2" or so out I really struggled to keep swooping lines. By the time I reached the outer echo my lines tended to undulate instead.

Detail of Pivoting Paisley - Includes Travel Stitching
and Filler Lines for Odd Gaps

How do you do it, Leah? How do you keep your echo lines so evenly spaced with such perfect arcs and swoops? I can imagine that practice is beneficial, but do you have any other tips for large, even very large free motion quilting?

Wednesday, August 15, 2012

Quilting Along with Leah Day - Week 25

I have a secret project that I hope to share with you a few months hence that is guiding my recent fabric selections. I needed some dappled green. Since the best thread in my studio was a deeper hue than most of the greens in the fabric it is relatively easy to see the stitching, even in the front view.


Front View of Cucumber Vine Practice Piece

This assignment was a tough one. It involved travel stitching greater distances and along curved lines. Leah named the pattern she has us practicing, Cucumber Vines. Instead of expanding with branches or roots, spiral tendril shoots reach out through the open space.

Detail of the Spiral Shoots Shows Just How Trick
Travel Stitching Can Be
Because travel stitching along a spiral is so I tricky, my personal preference when quilting spirals is to never travel stitch, but to instead leave a very wide channel when I spiral in and then spiral out by bisecting the channel.

Back Side of Cucumber Vine Practice Piece

It never hurts to practice. I have no doubt that my traveling stitching is improving, even on the curves, since the gap between the first stitch line and the travel line, when it does occur is tighter than in the past.

Detail of Back Side of Cucumber Vine Practice Piece

It is easy to get hung up on the travel stitch gaffs. Looked at from a glass half full perspective, I have made leaps forward with tension issues due to lack of hand/foot coordination or hesitation beads. There are no pulled loops around the curves. There isn't a single hesitation pile up of thread. Perhaps there will come a time in the future when working on the latest challenge that I discover my travel stitching no longer has gaps.

Monday, August 13, 2012

Quilting Along with Leah Day - Week 24

I am curator of a traveling exhibition for Fiber Artists Coalition, titled Conversations in Stitch. When I was recently interviewed about the exhibit for a newspaper article the journalist asked about the title and what I was trying to convey with the work I had selected. Here is what I told her. The work may appear as quite an eclectic collection at first. However, shapes, colors and subject matter repeat throughout the exhibition but are interpreted differently by different artists. I suggested to the journalist that she look at the many ways that trees are rendered in the artwork.

Full View of Tree Roots Practice Piece

Leah's latest assignment has us practicing a free motion quilting with a pattern called Tree Roots. How apropos. We have moved from beginner stitching to advanced beginner level. Tree Roots requires not only plotting our route but back tracking, or travel stitching.

Close Up of Tree Roots
Note Some Travel Stitching is Not detectible
While Other Travel Stitching is Obvious 

You may recall that the prior assignment was titled Branching Out. Tree Roots and Branching Out are basically the same, but the roots are slightly curved while the branches are all straight lines set at angles to each other. I found it more challenging to travel stitch along a gently curved line than a straight line.

It is easier to see the overall pattern that Tree Roots creates by viewing the back side of the practice piece. I purposefully select a commercial fabric with various hues and values as my front. Since that is the type of fabric I use for most of my quilts. However, to demonstrate my stitching acume (or not) I use solid fabrics on the backside.

Back Side of Tree Roots Practice Piece

There is nothing like a closeup to on solid fabric to show every single stitch...

Detail of the Back Side of Tree Roots
If you want to get an even closer look you can click on any picture and it will be enlarged.